
The Easiest Book Sleeve Tutorial
for sewing machine, but that you could also sew by hand

A few years ago I bought a sewing machine, and decided I wanted to try and make some easy things. Of course, being a reader, my first thought was to make a book sleeve which, being a rectangle, seemed easy enough.
I found a few tutorials online and then settled for one that didn’t require padding, or pockets, not even a closure, just a basic, super easy to follow and put together tutorial for a sleeve.
I did follow a sewing course for a few months, but just like pretty much any hobby I have, eventually sewing was put in the back burner - especially after my Singer sewing machine fell down from the attic, which is a story for another day - but lately the craving to make things is returning, and I decided I wanted to start again with a simple, easy to make, book sleeve.
The issue is, I cannot find the original tutorial anymore.
Every time I search for easy/simple book sleeve/case/bag tutorial, I find videos or written blogs or videos that have at least one step more than I want or need.
Luckily, it seems the muscles of my memory are more in shape than I give myself credit for, and with a few trials an errors, I managed to remember the original way to make the no-fuss, no-middle-pad, just straight up simple sleeve that I made as one of my first sewing endeavours.
A couple og weeks ago I was teaching a friend some basic sewing, so I figured we would start there. We didn’t manage to go very far - it was during a craft afternoon with friends, so the conversation ended up distracting us from our goal - but I did complete the book sleeve the next day, and I decided to take some pictures in order to put together a quick tutorial for you all.
So if you’re looking for the easiest book sleeve tutorial and you can’t find it, I got you covered!
BOOK SLEEVE TUTORIAL
What you will need:
Fabric;
Scissors;
Marker;
Pins;
An iron;
Sewing machine (not mandatory if you enjoy sewing by hand);
A ruler (not Lorde, not for this, anyway).
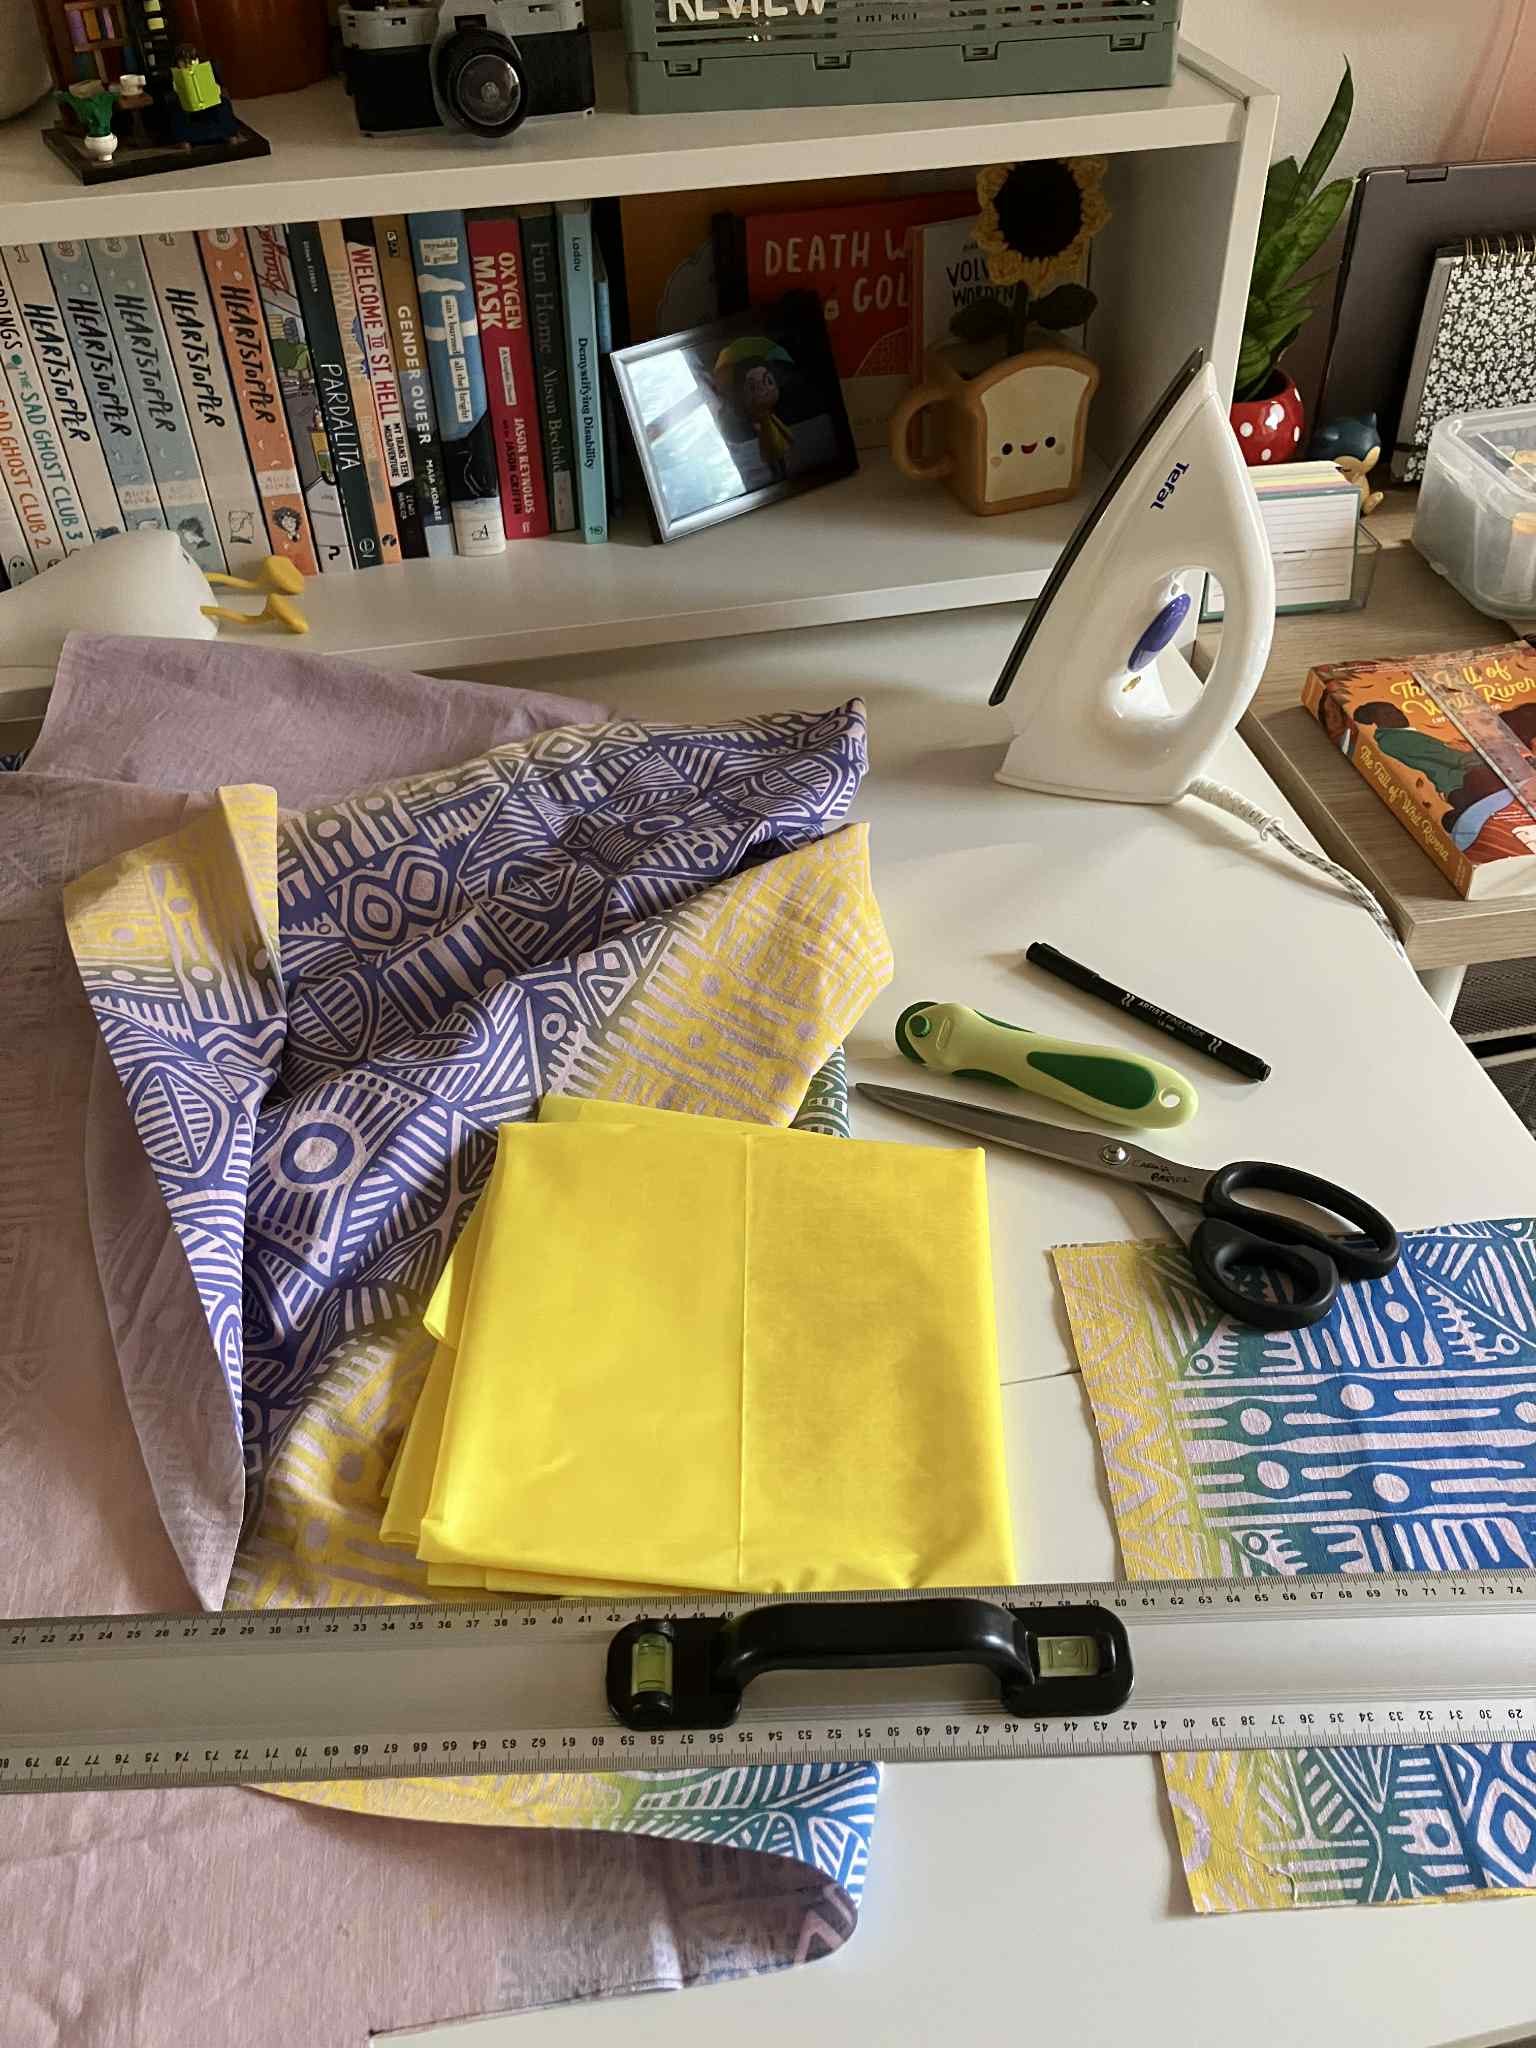
Personally, I am not a fan of using scissors to cut my fabric, so I use a cutting roller, and I work on top of a cutting mat, but you can use what you have at hand and follow your own preferences.
***
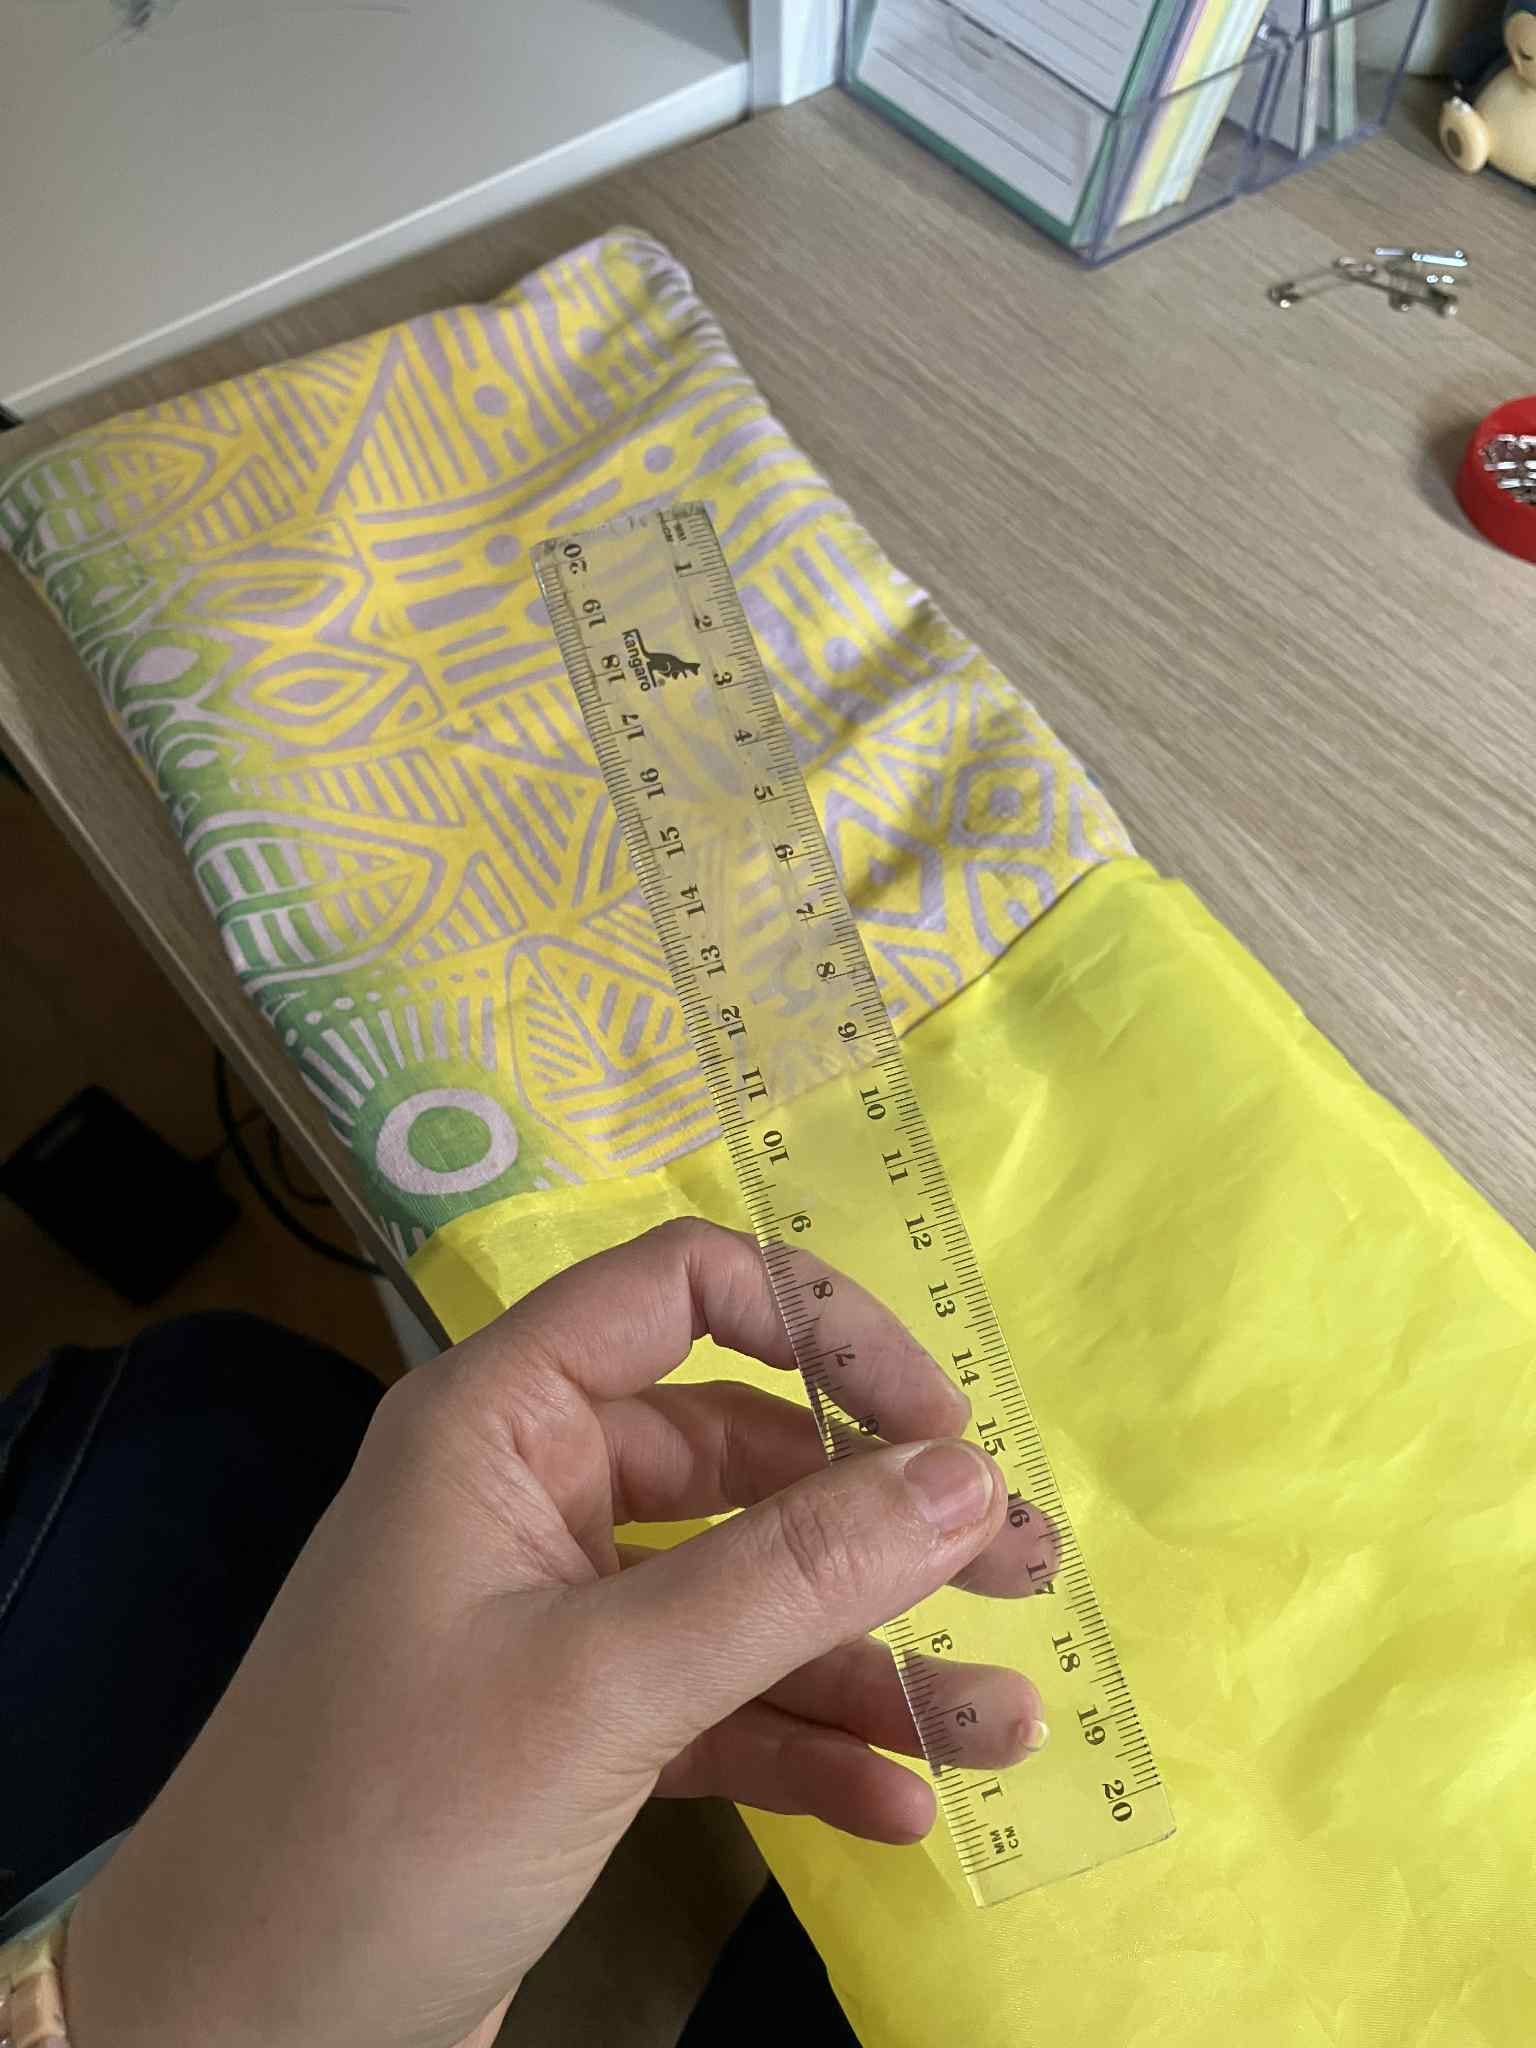
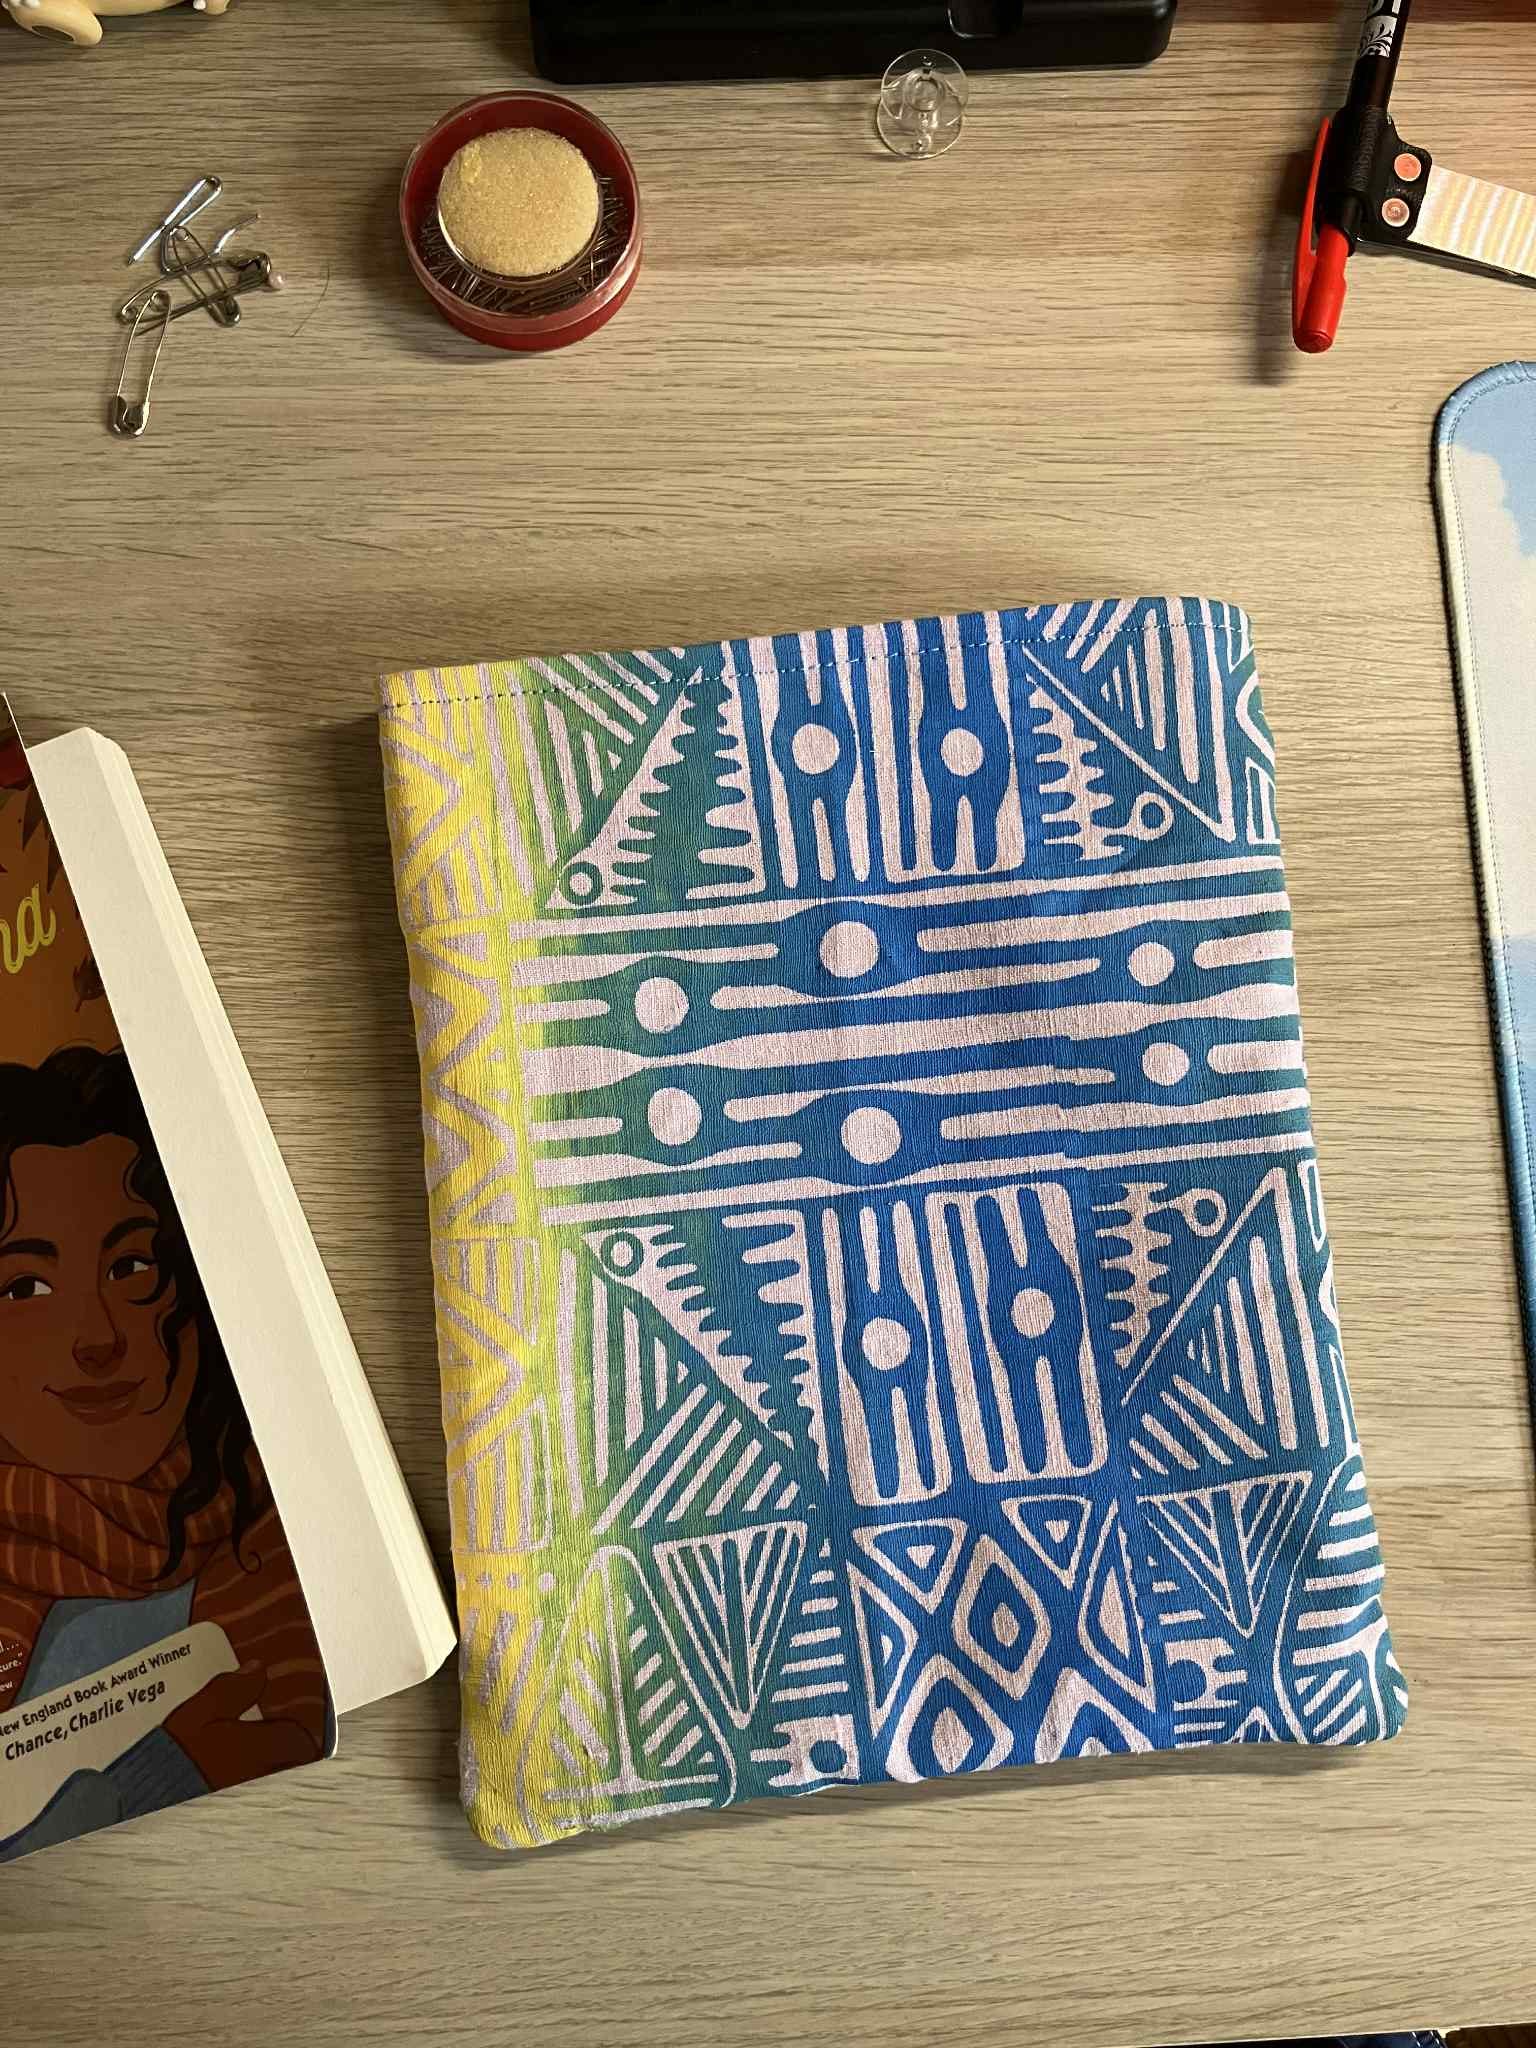
Start by measuring how big you want your book sleeve to be. I decided to make one big enough to fit a small paperback.
I placed the book on top of my fabric and then measured around it, taking into consideration the thickness of the book, and allowing enough space for a sewing seam (1-2 cm).
I measured about 5cm of fabric on each side of the book.
In total you will need four pieces of fabric all the same size: two of them will make the outside of the book sleeve, the other two the inside/lining.


My modus operandi when creating a new book sleeve is to measure my pattern into a piece of thick cardboard, cut it to shape, then use that cardboard to draw the pattern on the fabric with a pen. It’s easier, and then you always have the pattern ready to go, so it saves you time.
This time, I simply cut my first piece of fabric to measure, and then used that one as a pattern to cut the other three pieces.
For my book sleeves I like to use a cute fabric on the outside, and a waterproof fabric for the lining, but you can really choose any fabrics you like for the sleeve and the lining, they can even be the same fabric for both.


A step you can certainly ignore, but it’s gonna make the whole process easier, is ironing your fabrics.


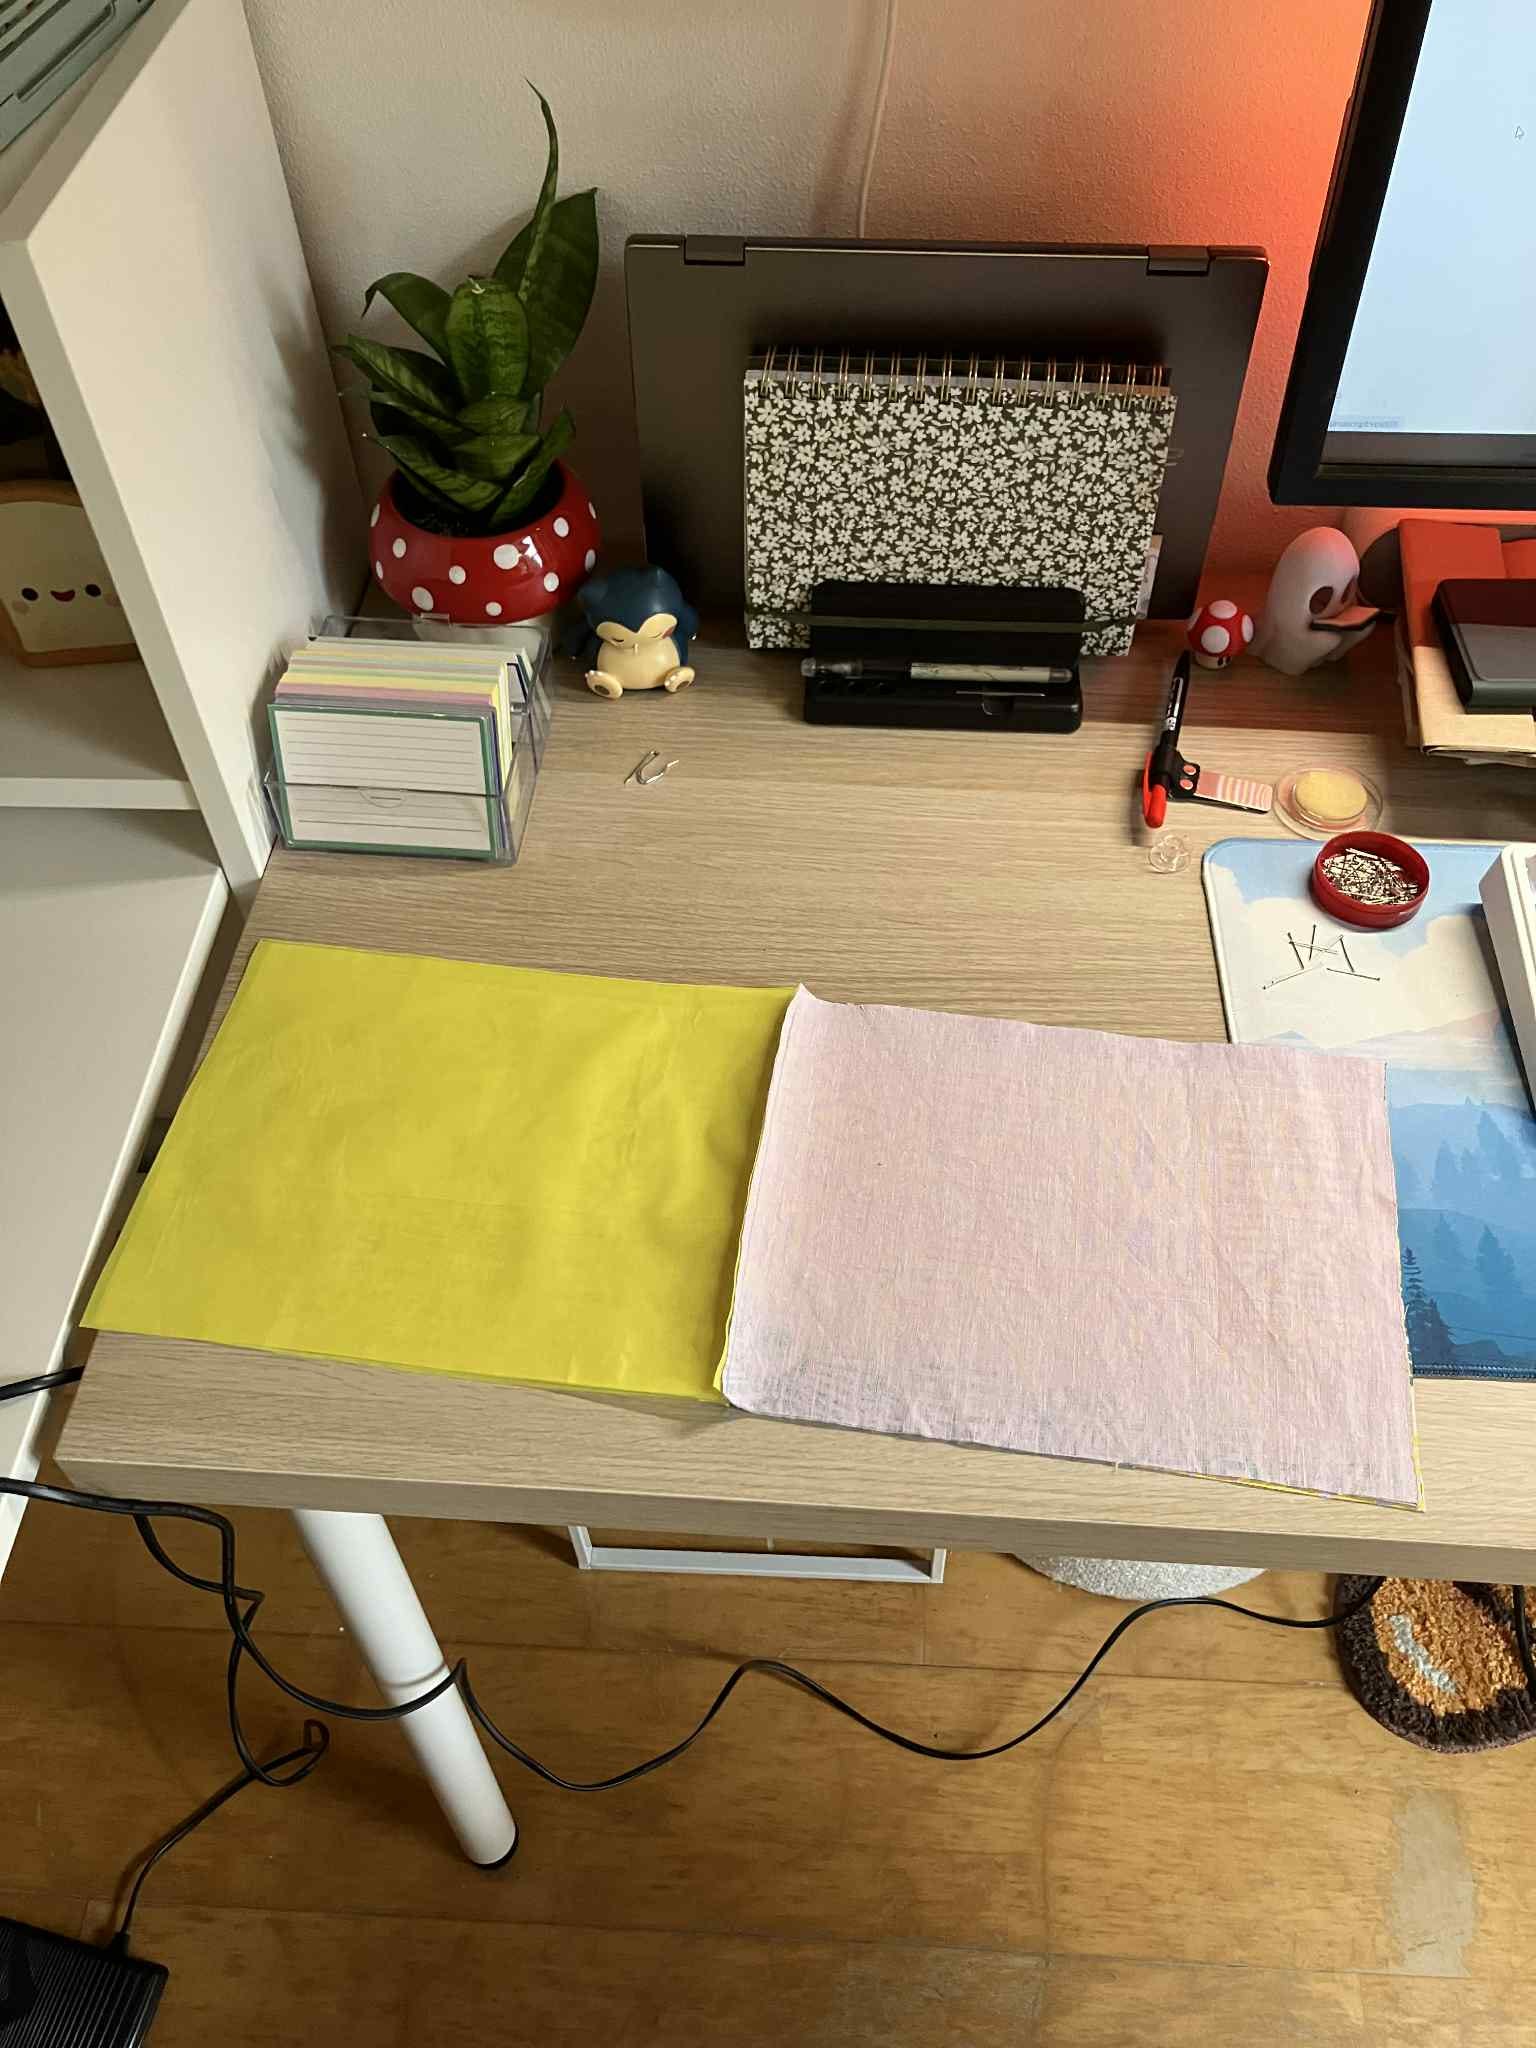
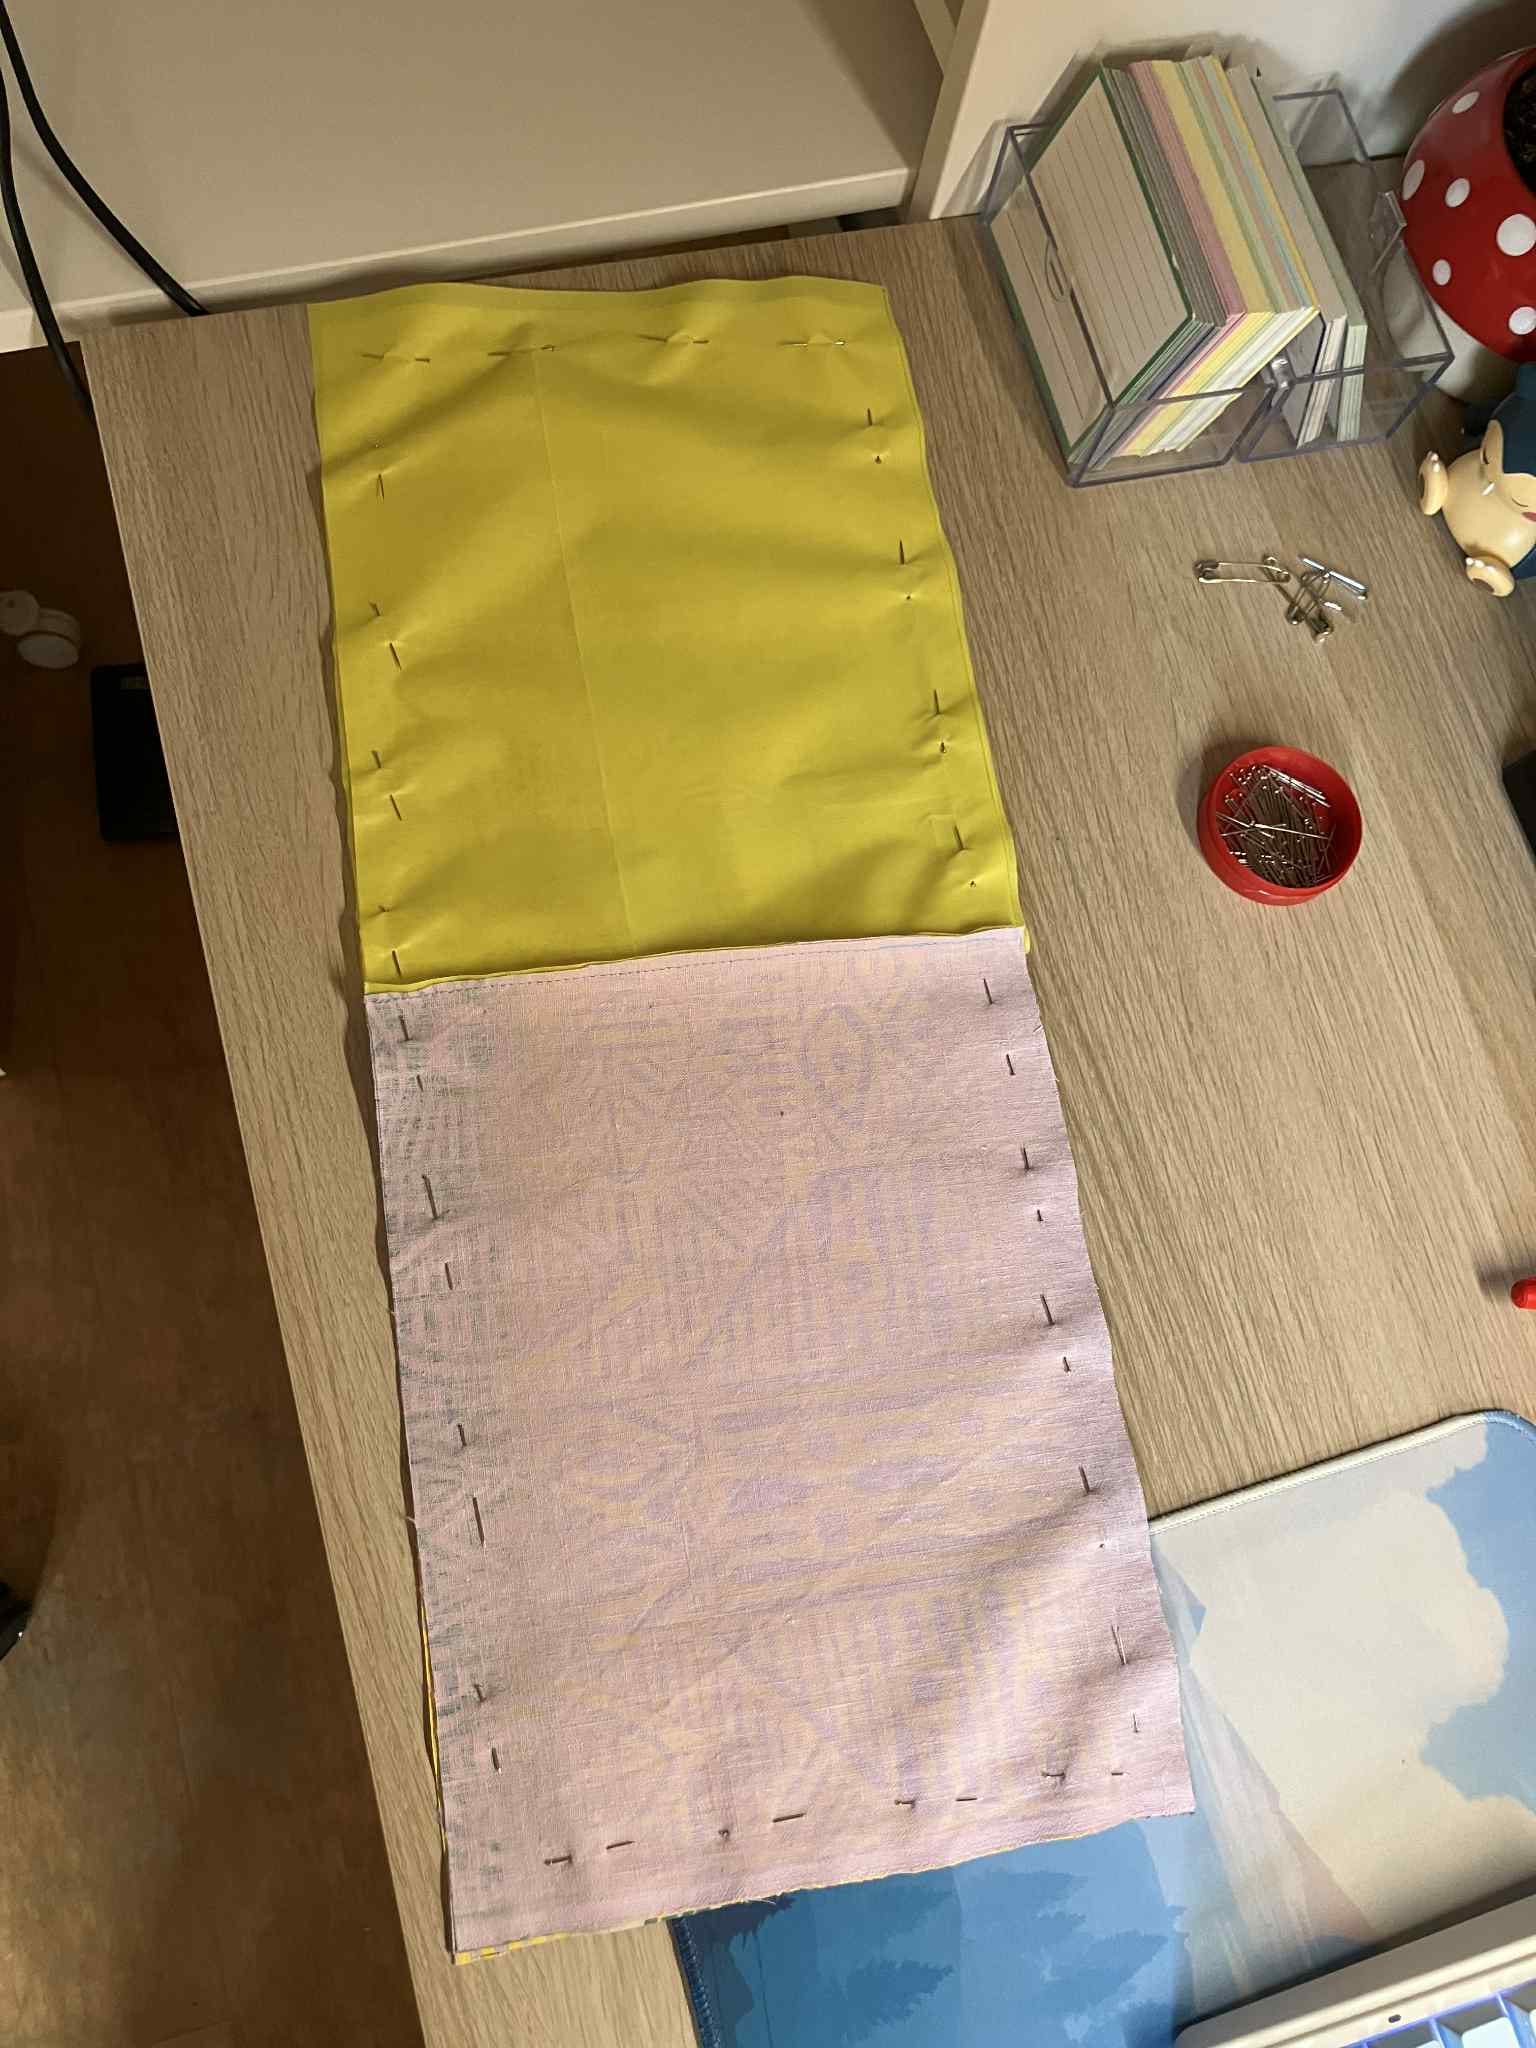
Next you are going to place the “right” (or good) side of the outside fabric and the good side of the lining facing each other - see images above.
In my case, the lining is the same on all sides, but if your lining has a right side, take that into consideration.
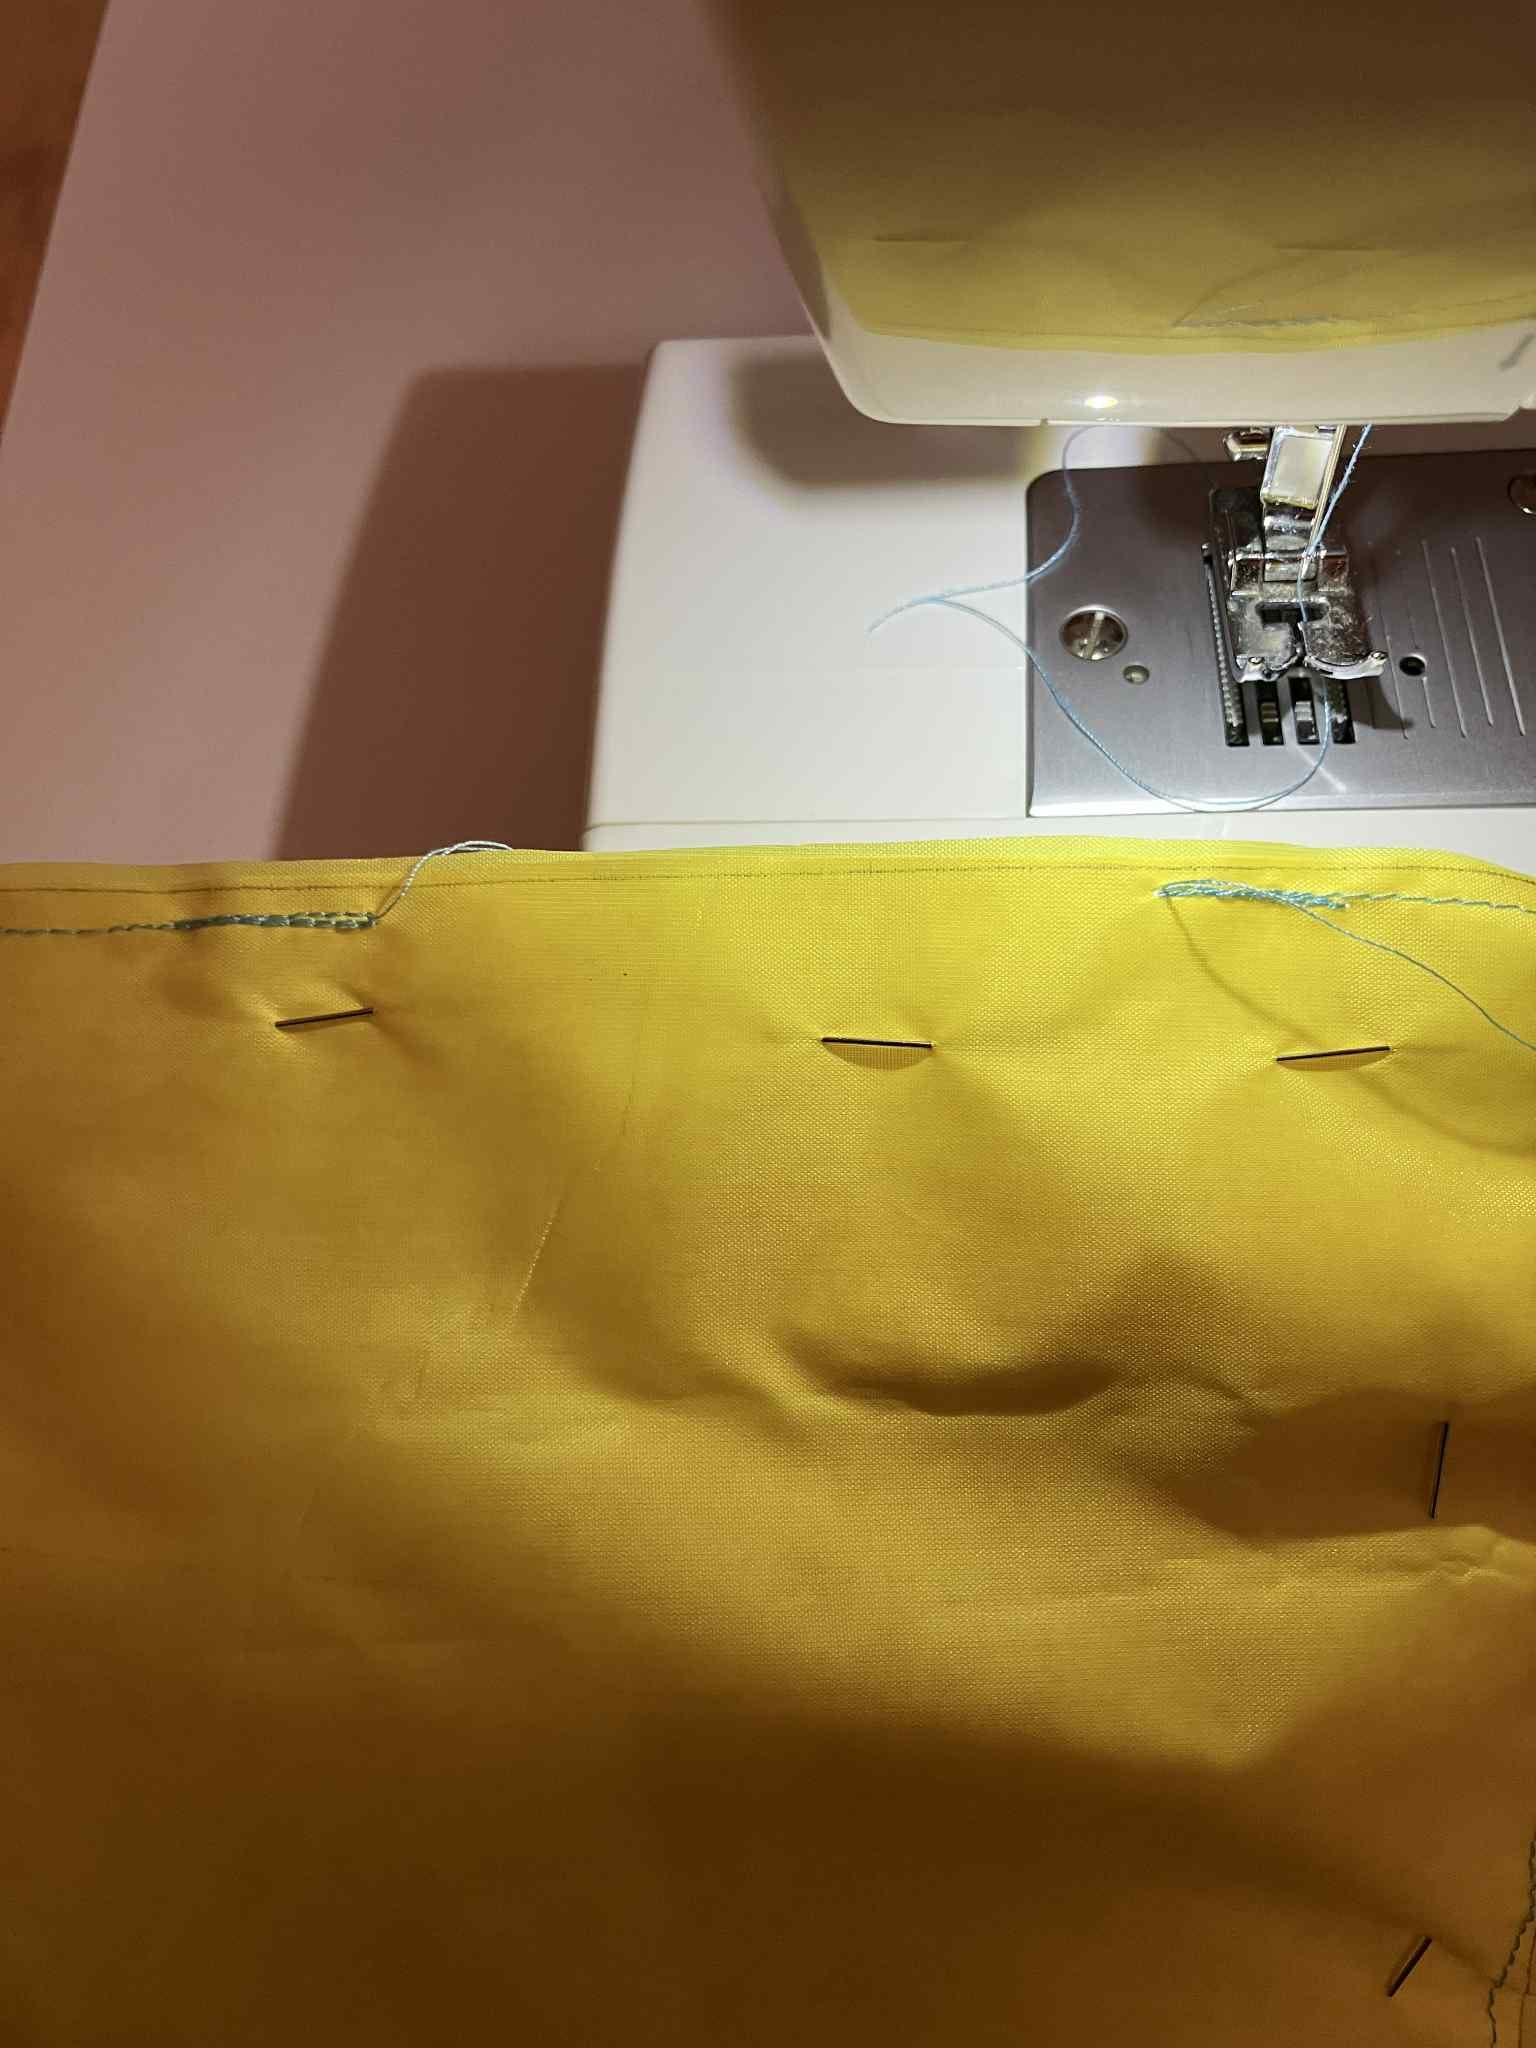
Use some pins along the top to fasten the outside fabric and lining together, such as in the image on the right. You are going to sew along that top.
Please note that you’re sewing one lining and one outside fabric piece together twice, not all four pieces of fabric together at once.
(If your fabrics have a pattern with a top and a bottom, the pinned part you’re about to sew is where the top part should be. So let’s say, you’re using a pattern with a print of Pedro Pascal in it, his hair should be pointed to there you’re about to sew - unless you prefer him upside down, that’s your kink to deal with and none of my beeswax.)
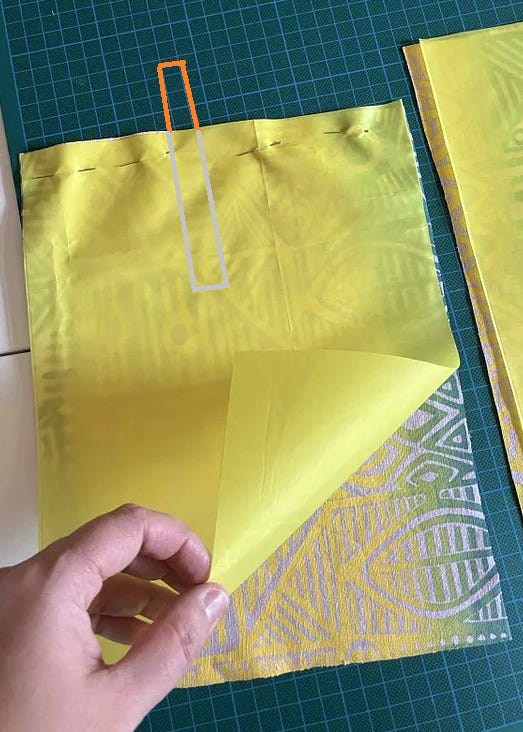
If you’d like to add some ribbons to the opening, which will allow you to fasten your sleeve, this would be the time to do it. See image above as an example.
Pin one long piece of ribbon between the two “good” sides of the fabric, allowing the ribbon to stick a bit out at the top so that when you sew along the top it will get sewn between both fabrics.
(The part drawn in grey shows the ribbon between the fabrics, the orange bit is the part that sticks out.)
Sew the top of the two pieces together - don’t forget to allow for a 1-2cm seam.
Once you’re done sewing, it should look something like the image above.
If you have chosen to add the fastening ribbon, it will stick out a bit in between the fabrics here. You could trim it now (in the drawing before that’s the part in orange, NOT the part in grey) .
Do the same with the other two pieces of fabric.
Don’t forget to add the ribbon on this side as well, if you have decided to add ribbon at all.
By now you should end up with two long pieces of fabric, each consisting of one outside fabric and one lining sewn together.
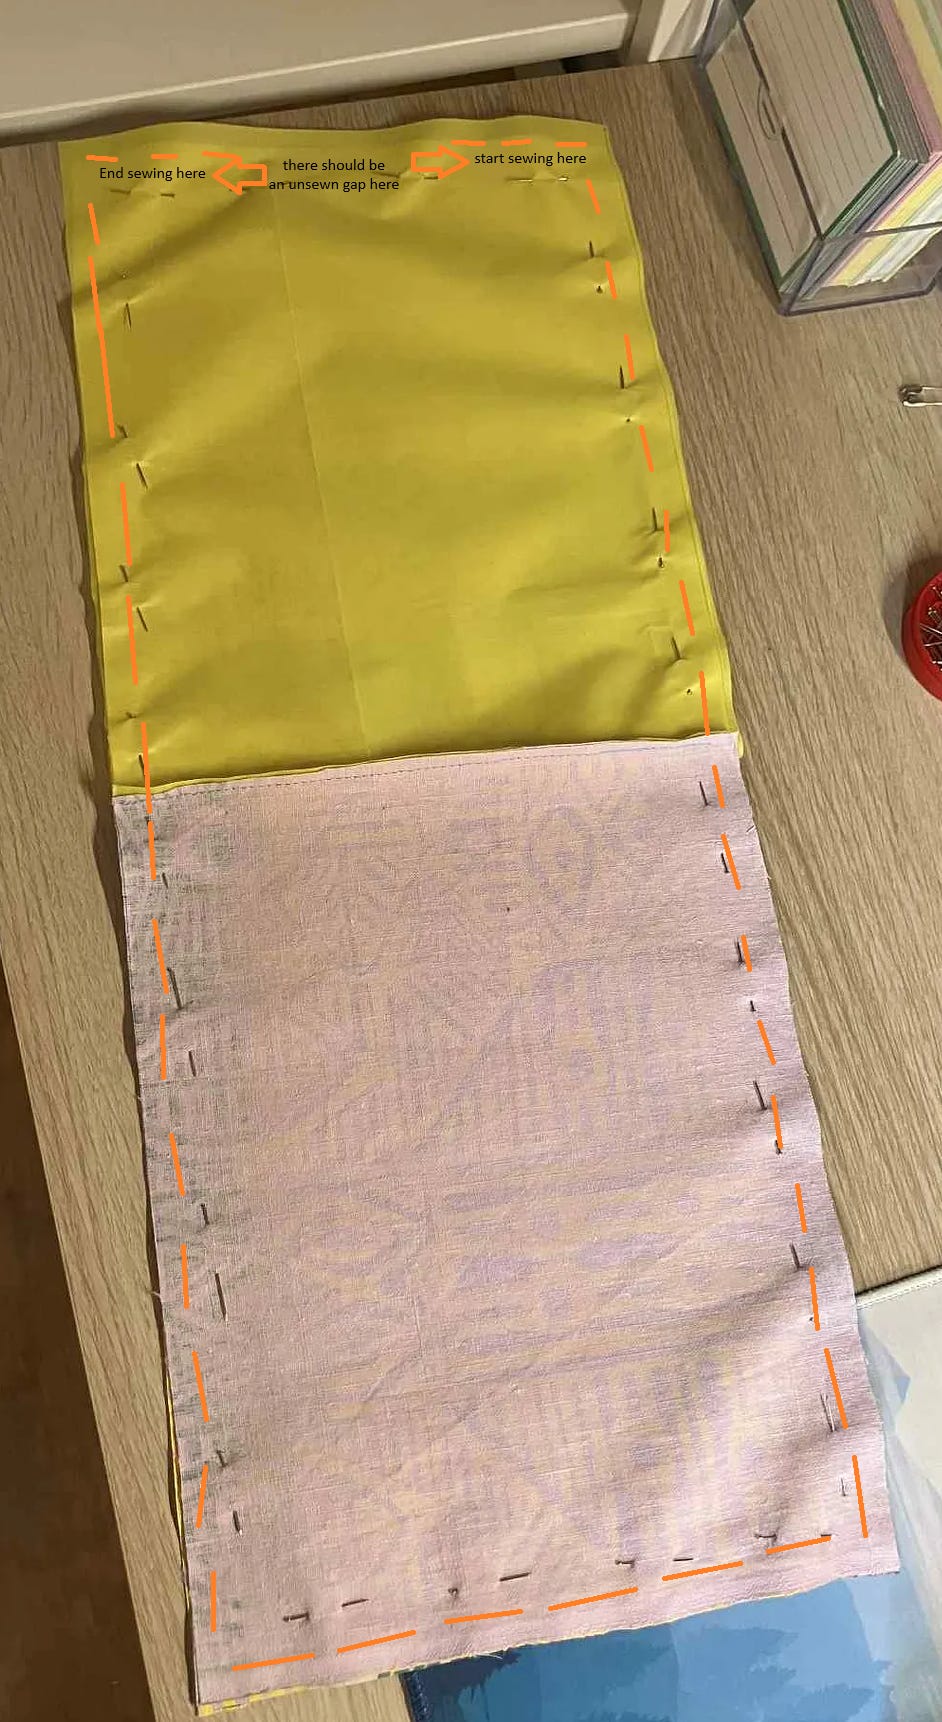
Next you are going to fasten these two long pieces together all around with the help of some pins, again placing the right sides of the fabric facing each other, but this time outside fabric facing outside fabric, and lining facing lining. See below.
You’re going to sew these together all around.
It is important that you start by sewing on the lining side, but don’t start from the middle, because you’re going to need to leave an open gap (about 5cm) between the two pices of lining, and the middle of the lining is the best place to leave that gap.
Start sewing from the right side of the lining, as drawn in the image below, allowing about 1-2cm between your stitches and the edge of the fabric.
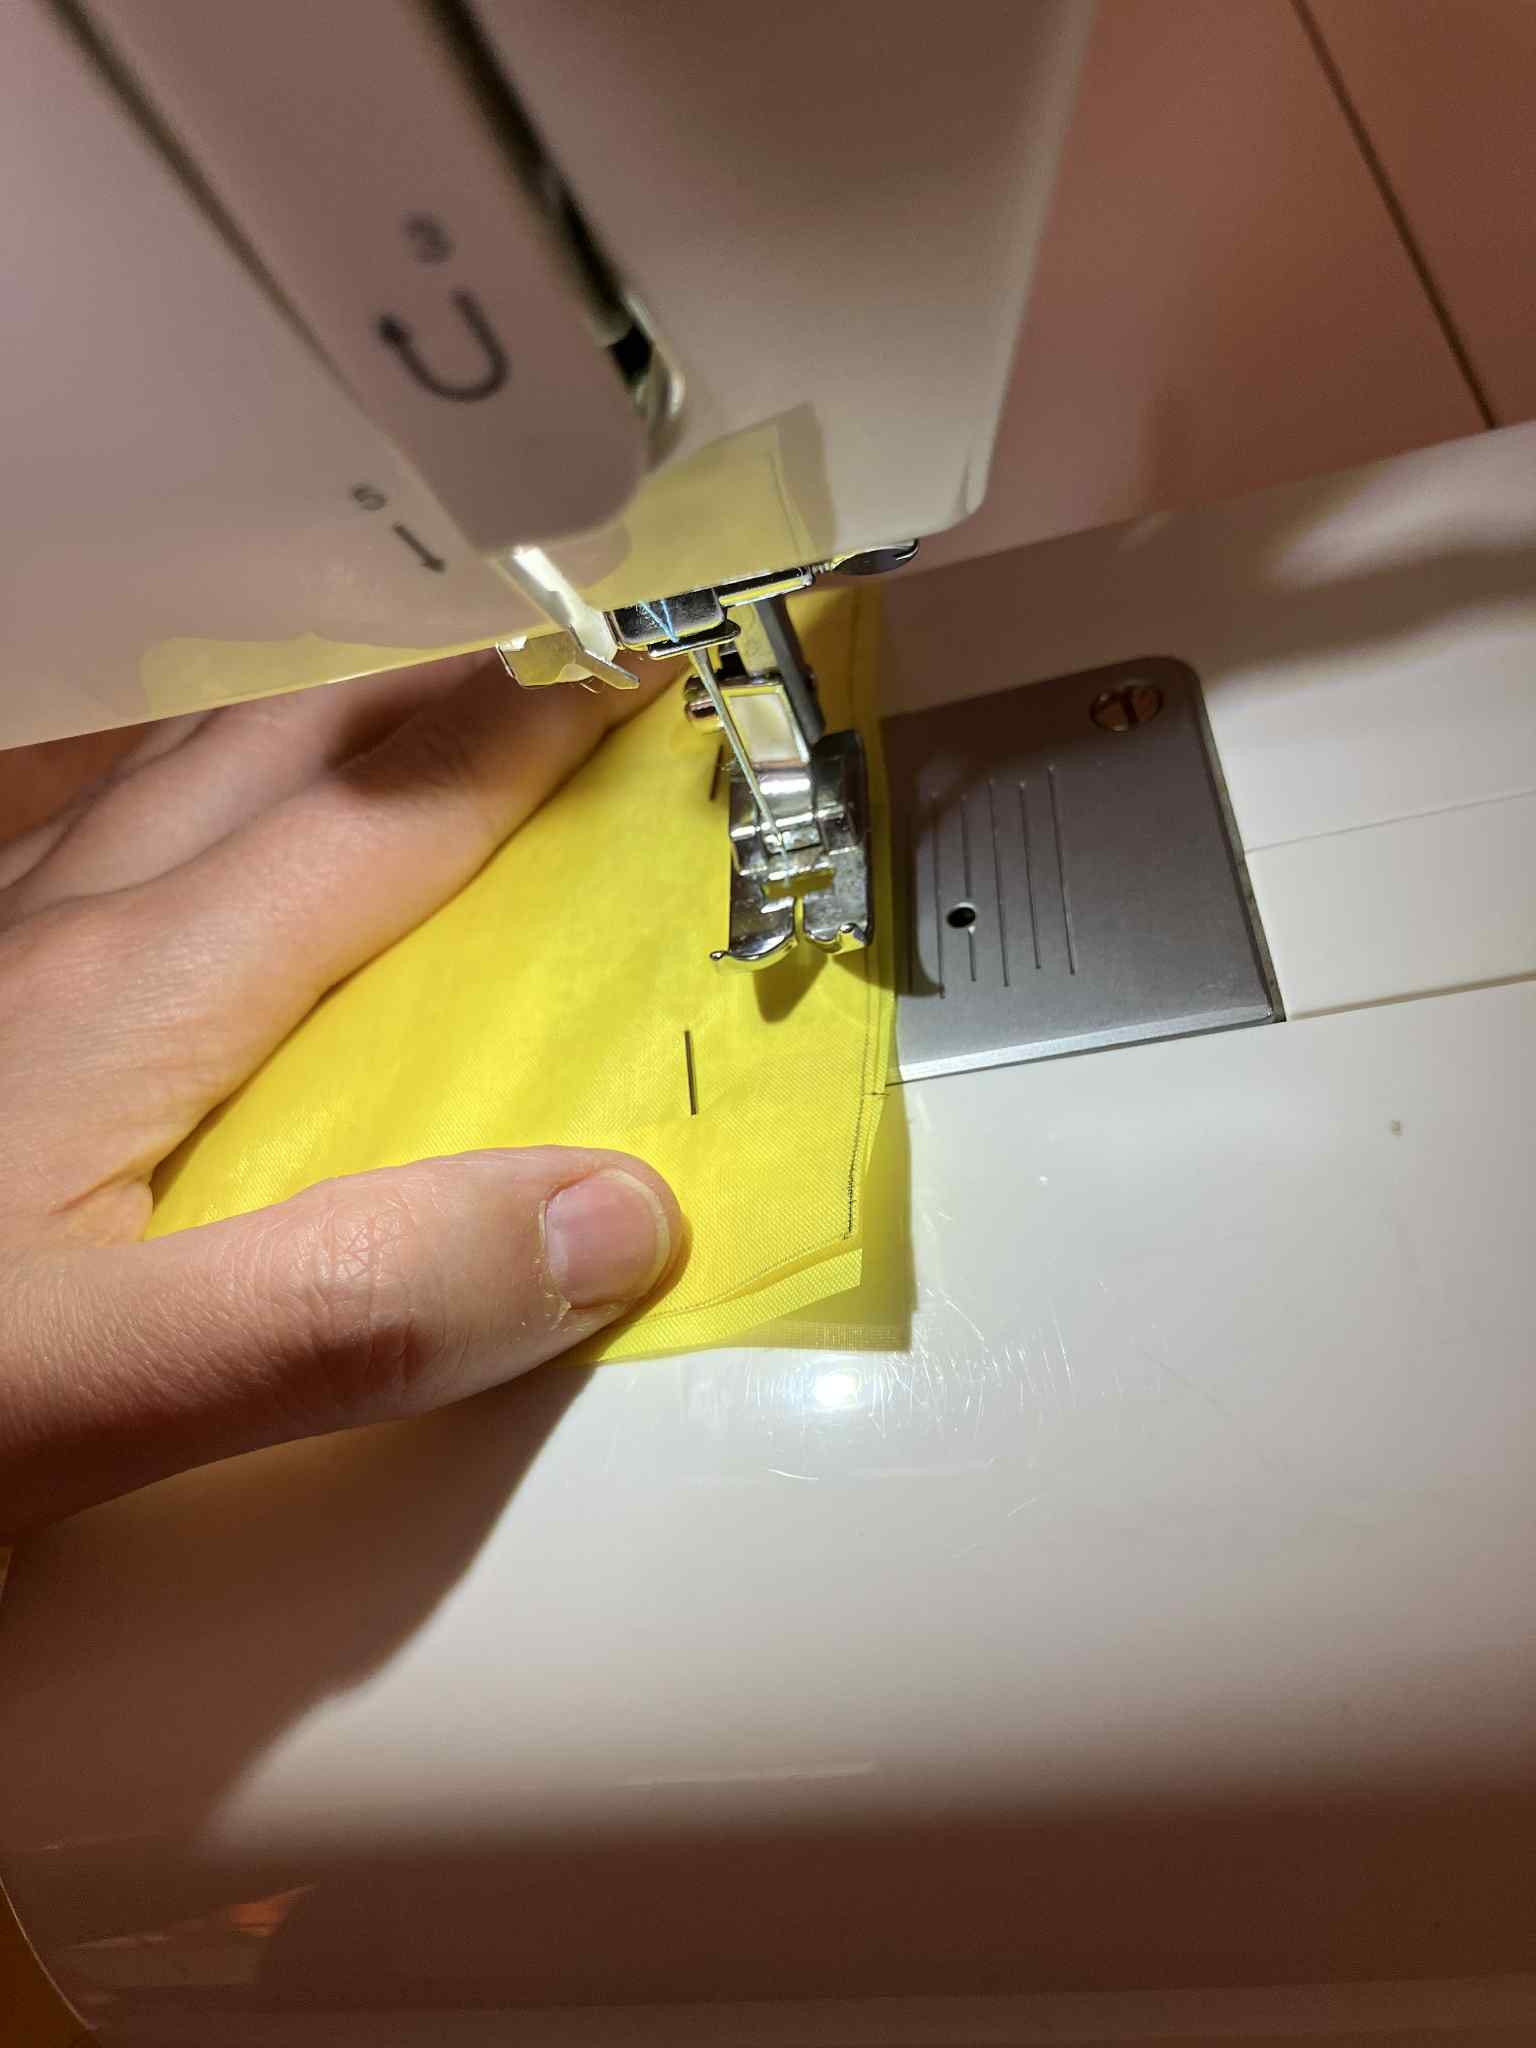
Continue to sew, making sure that the middle parts, which is the first thing you have sewn, where the lining and the outside fabric overlap, isn’t folded weirdly, the sewing machine should go over it smoothly. See image below.
Sew all the way around, leaving the gap on the lining I drew above. It should end up looking like the image below.
You’re going to use this gap to turn the fabric the right side in. But before you do that, remove the pins you used to keep the fabrics together, round the corners with some scissors, eventually cut off some extra unalined fabric if necessary, making sure you don’t cut through any of the stitches.

Now it’s time to scoop some guts.
Through the opening in the lining, pull the fabric completely through.
Even if your fabrics are the same all around, and there are no right/good sides to it, you need to do this step.
It should end up looking like the image on the right.


Get a ruler and stick it through the gap in the lining, running it along the corners and edges, in order to completely turn the sleeve the right side around and smooth it all out.
Now you’ll need to close that gap in the lining.
If you’re one for details, you might want to watch a tutorial online on how to hand-sew a hidden stitch, but since this part of the lining isn’t visible, I don’t care, and I just sew it with the machine, which is a lot faster.
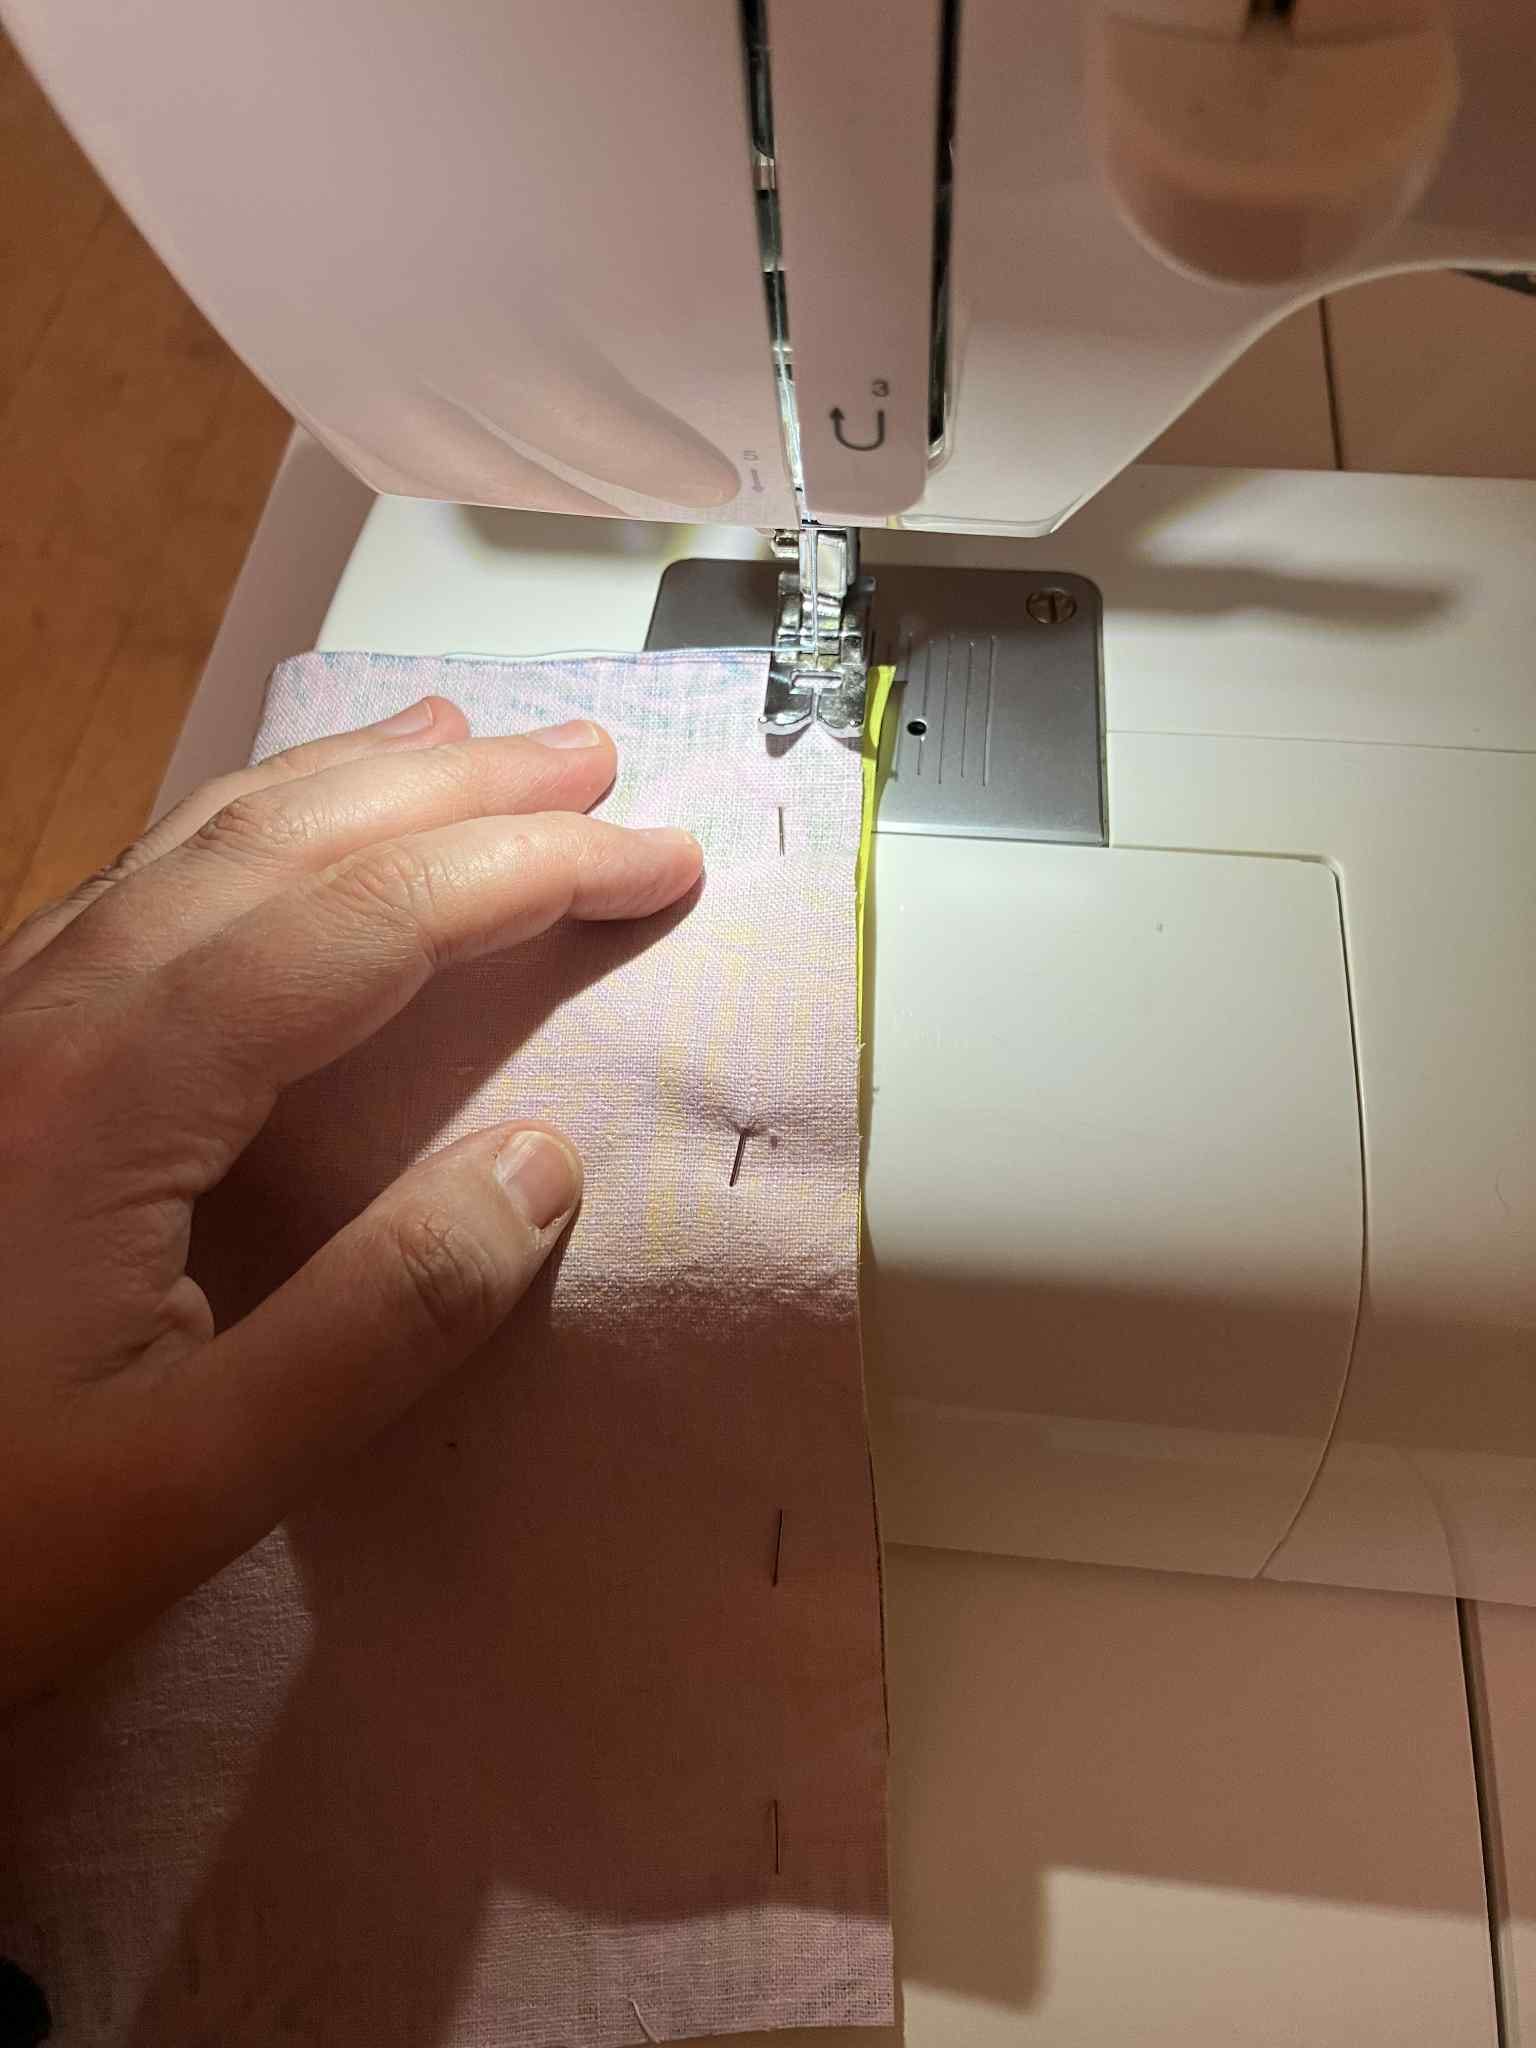
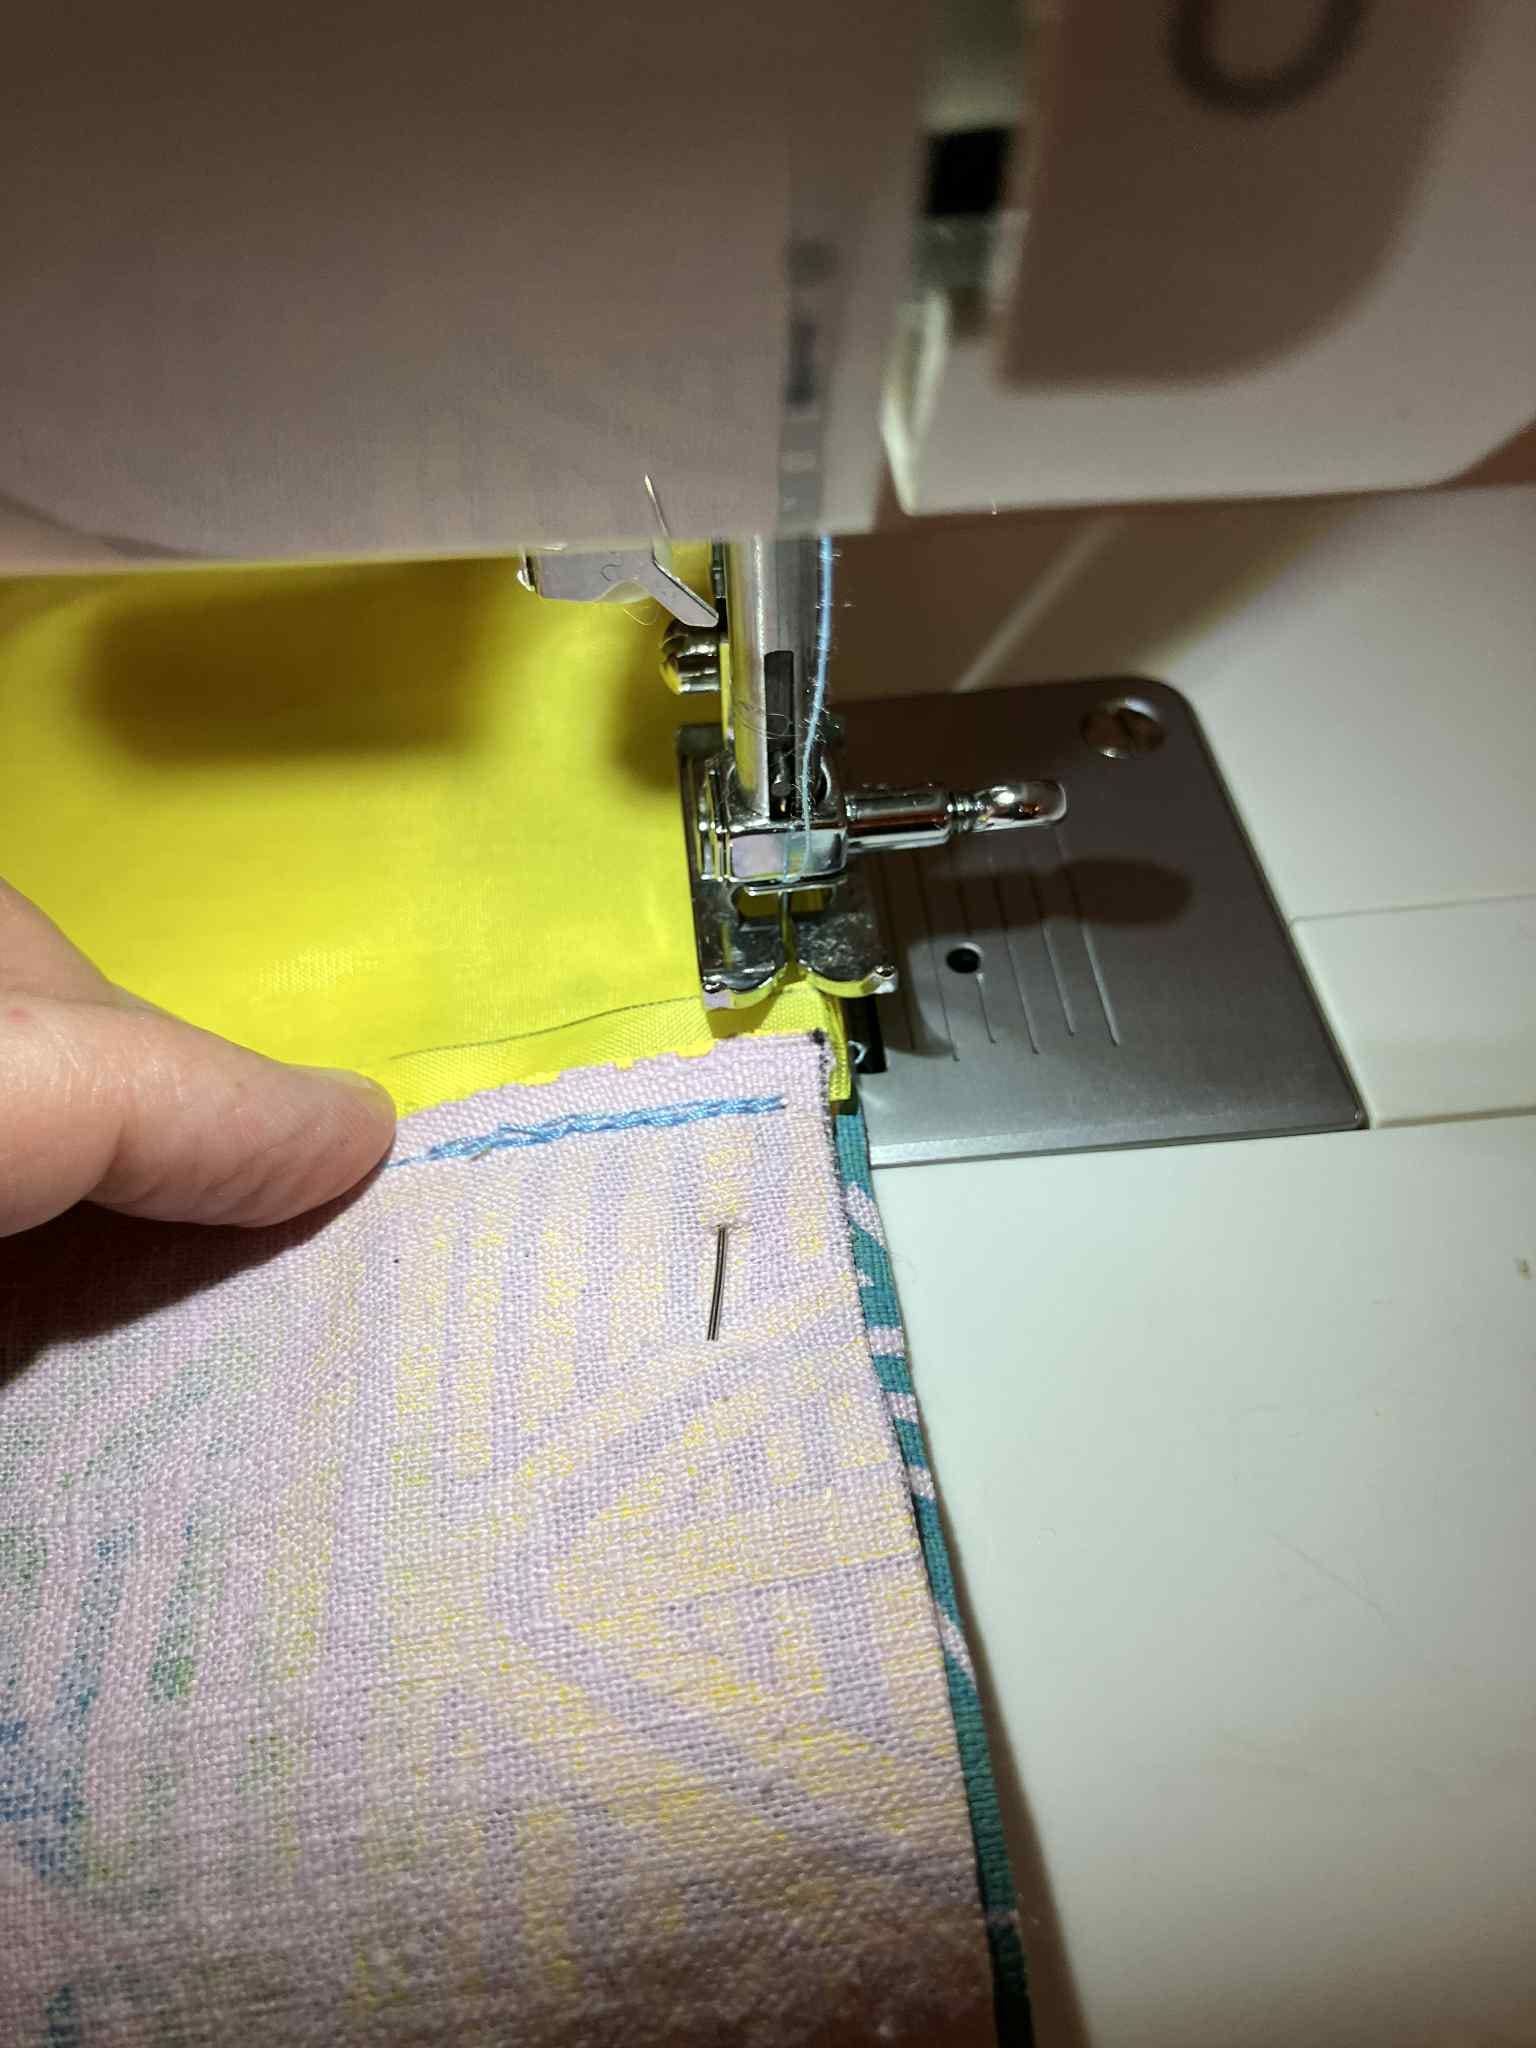
Now, this next step can be tricky: you have to make sure that you fold a bit of the lining towards the inside of the gap, in order to be able to sew the two pieces of fabric together neatly. See image below.
If necessary, you can even iron the lining here so that the fold stays in place more easily. I couldn’t be bothered, really.
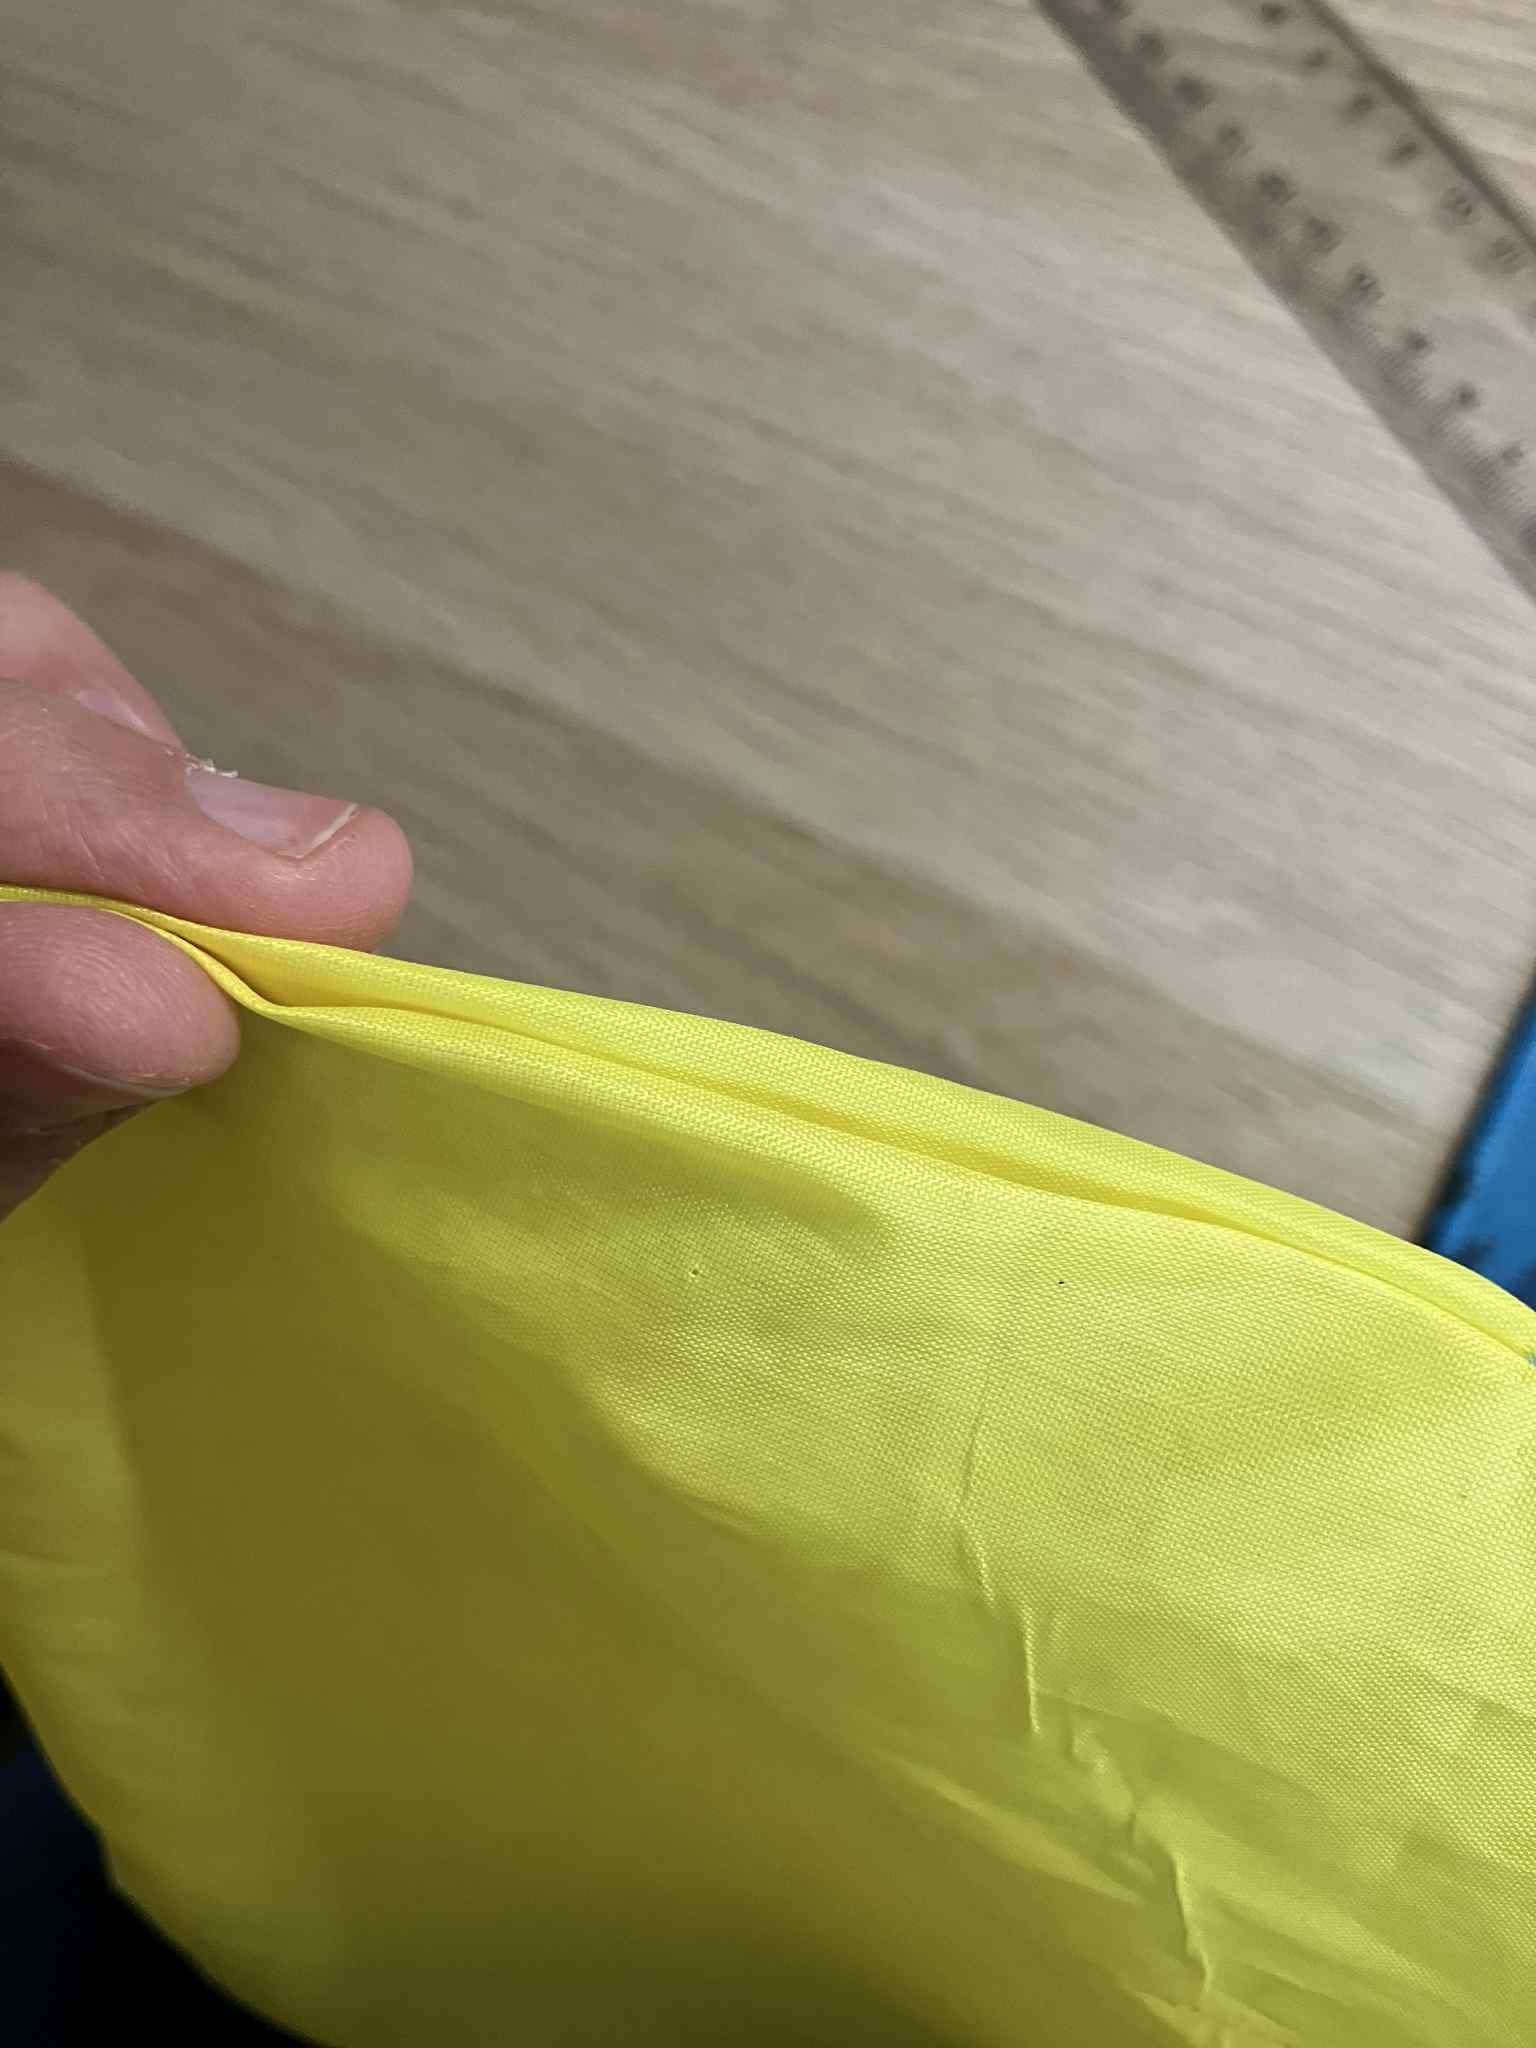
If you didn’t leave enough space between the stitches and the edge of the fabric and folding it in isn’t working, that’s not a problem. Just sew the edge of the lining together as you can because, again, this won’t be visbile. try to sew it as close to the edge as possible.
Close that gap!
Look at that stitched edge in the picture on the right! Is it pretty? No, but it’s functional, and it was quick to make, and that’s all you should be asking of me.


Trim the long thread on the starting and ending stitches so there’s no thread dangling there. You should do this each time you finish sewing anything, really.
(Some people are going to be pissed off at me because they’re making the sleeve as they follow the steps and it’s now too late to trim any other threads, but that is not of much consequence so I am hoping you’ll have a laugh about it. Yes, of course I could go back and change it, add this instruction at the very beginning, I am still writing the tutorial after all, but where’s the fun in that?)
Now it’s time to put the lining where it belongs: inside the actual sleeve aka the pretty side of your fabric.


You could consider this project concluded right here, and it would be fine.
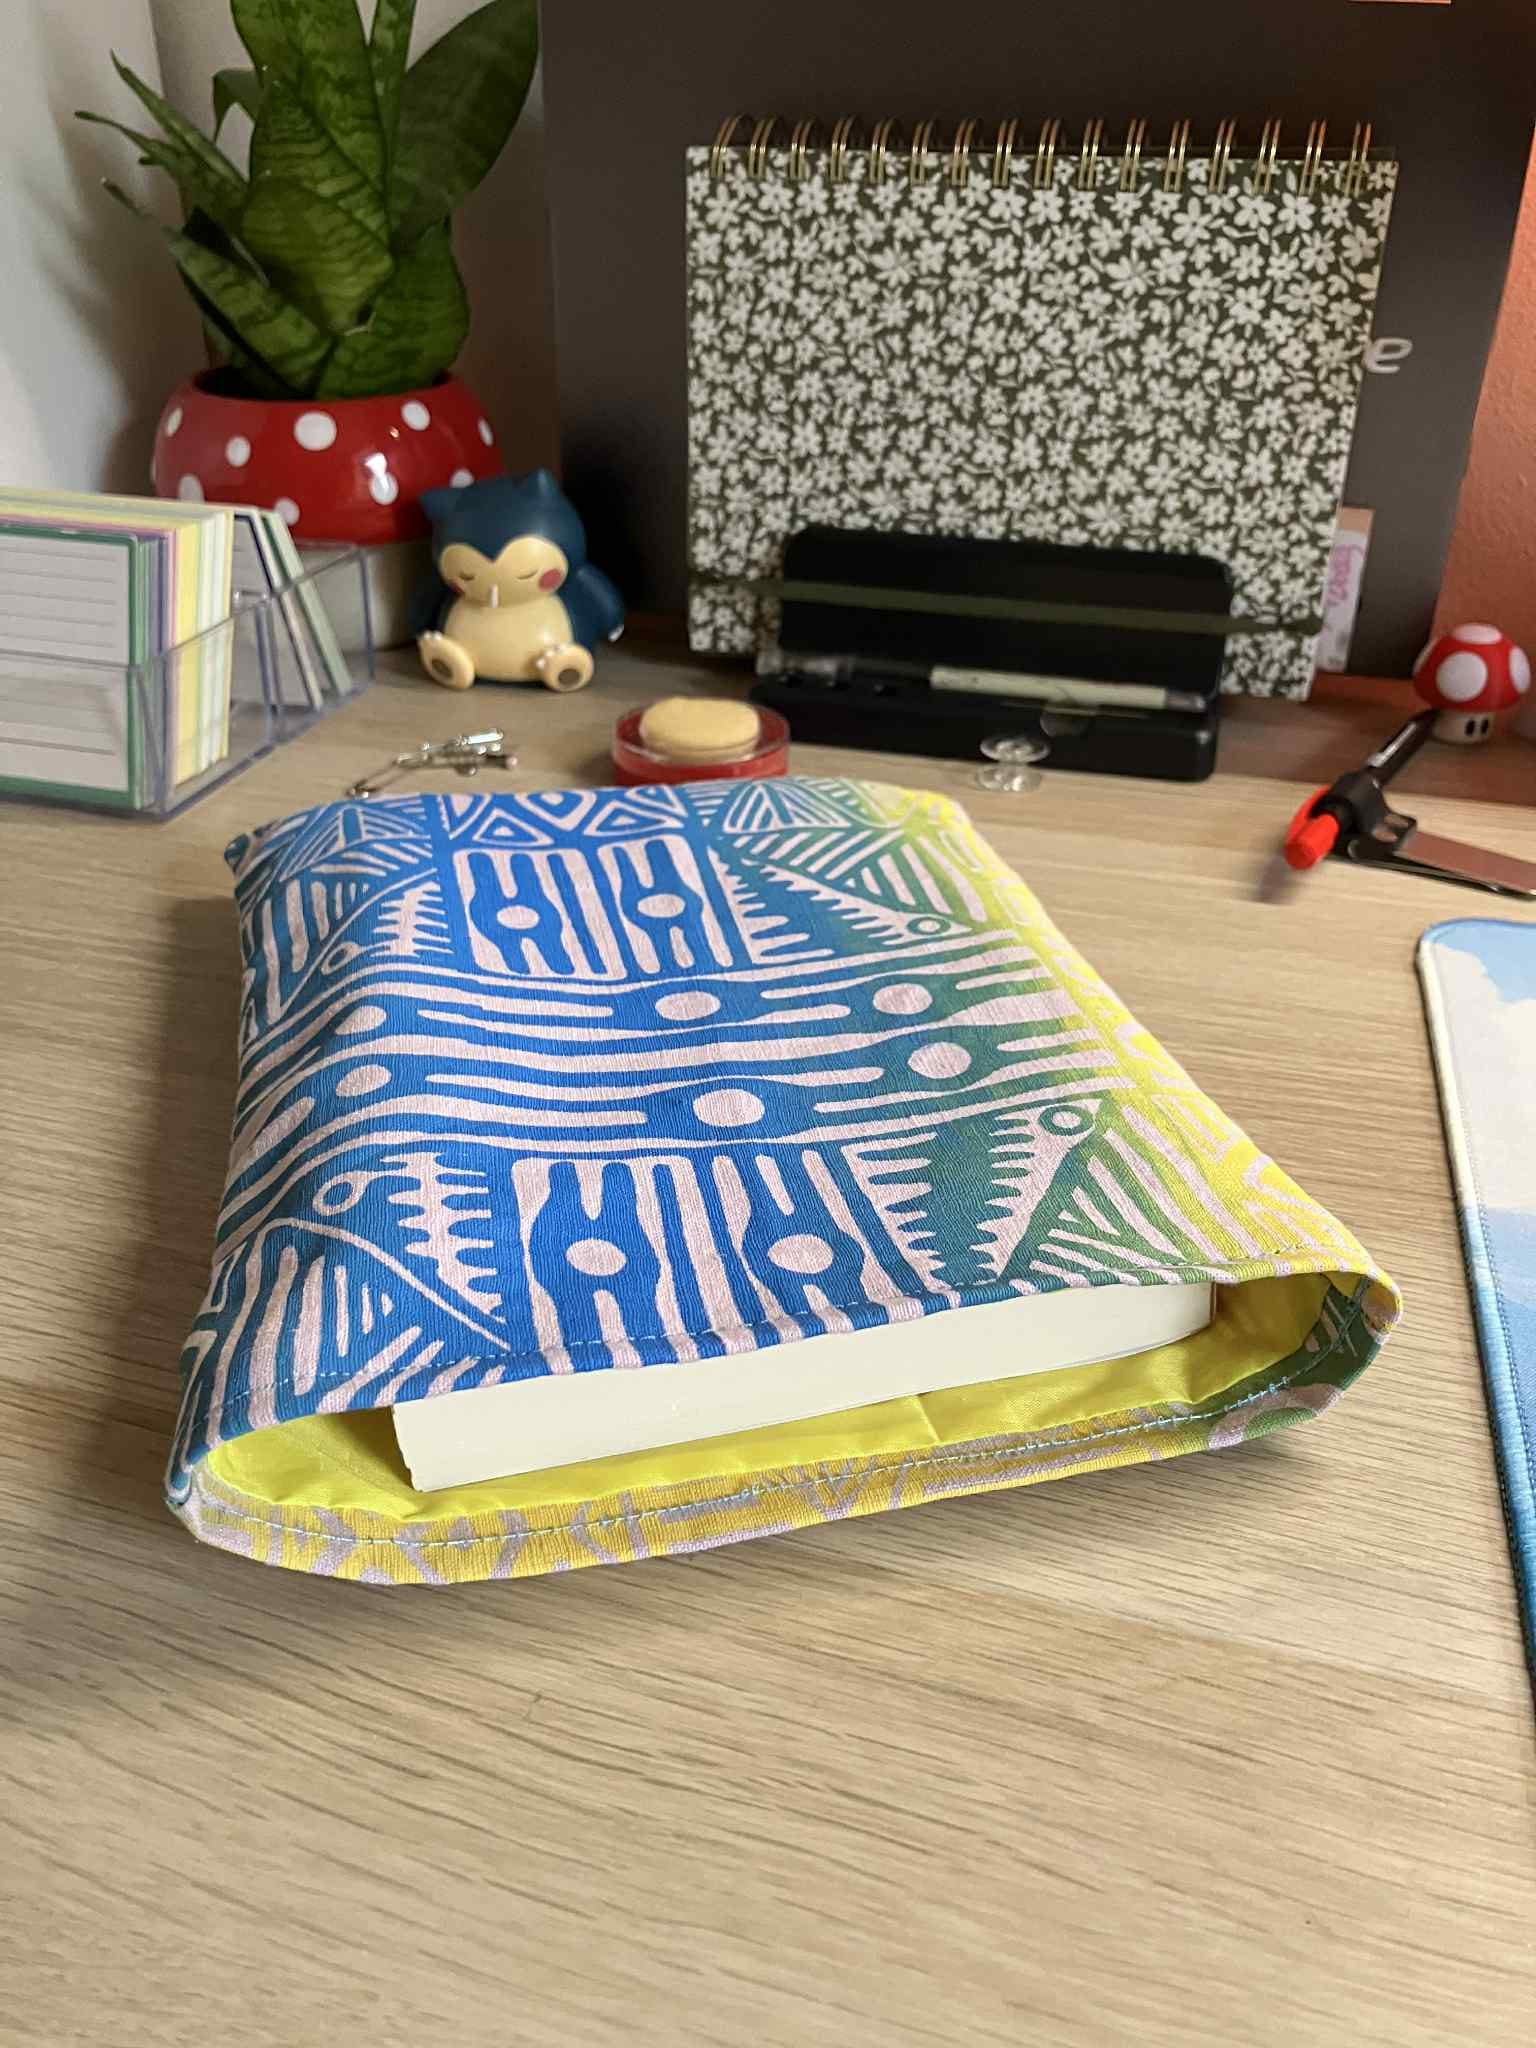
Personally, I prefer to avoid the lining moving inside the sleeve too much, so I always sew an edge all around at the top in order to fasten the lining in place a bit.
I put a book in the sleeve to align things a bit, and then I stick one pin on each side to keep the lining and outside fabrics in place before I start sewing, such as in the image below.
Don’t forget to remove the book or it’s gonna be tricky to sew.


How wide you want your top edge to be is your choice. I usually leave 1-2cm all around.
Tip: start (and end) your stitches on one of the side seams to better hide the first and last stitches, as these tend to look rougher.
The image above on the right is what it will look like on the inside when you have sewn an edge all around.
My linings don’t align perfectly, but that’s not a big deal. Again, it’s still fully functional.
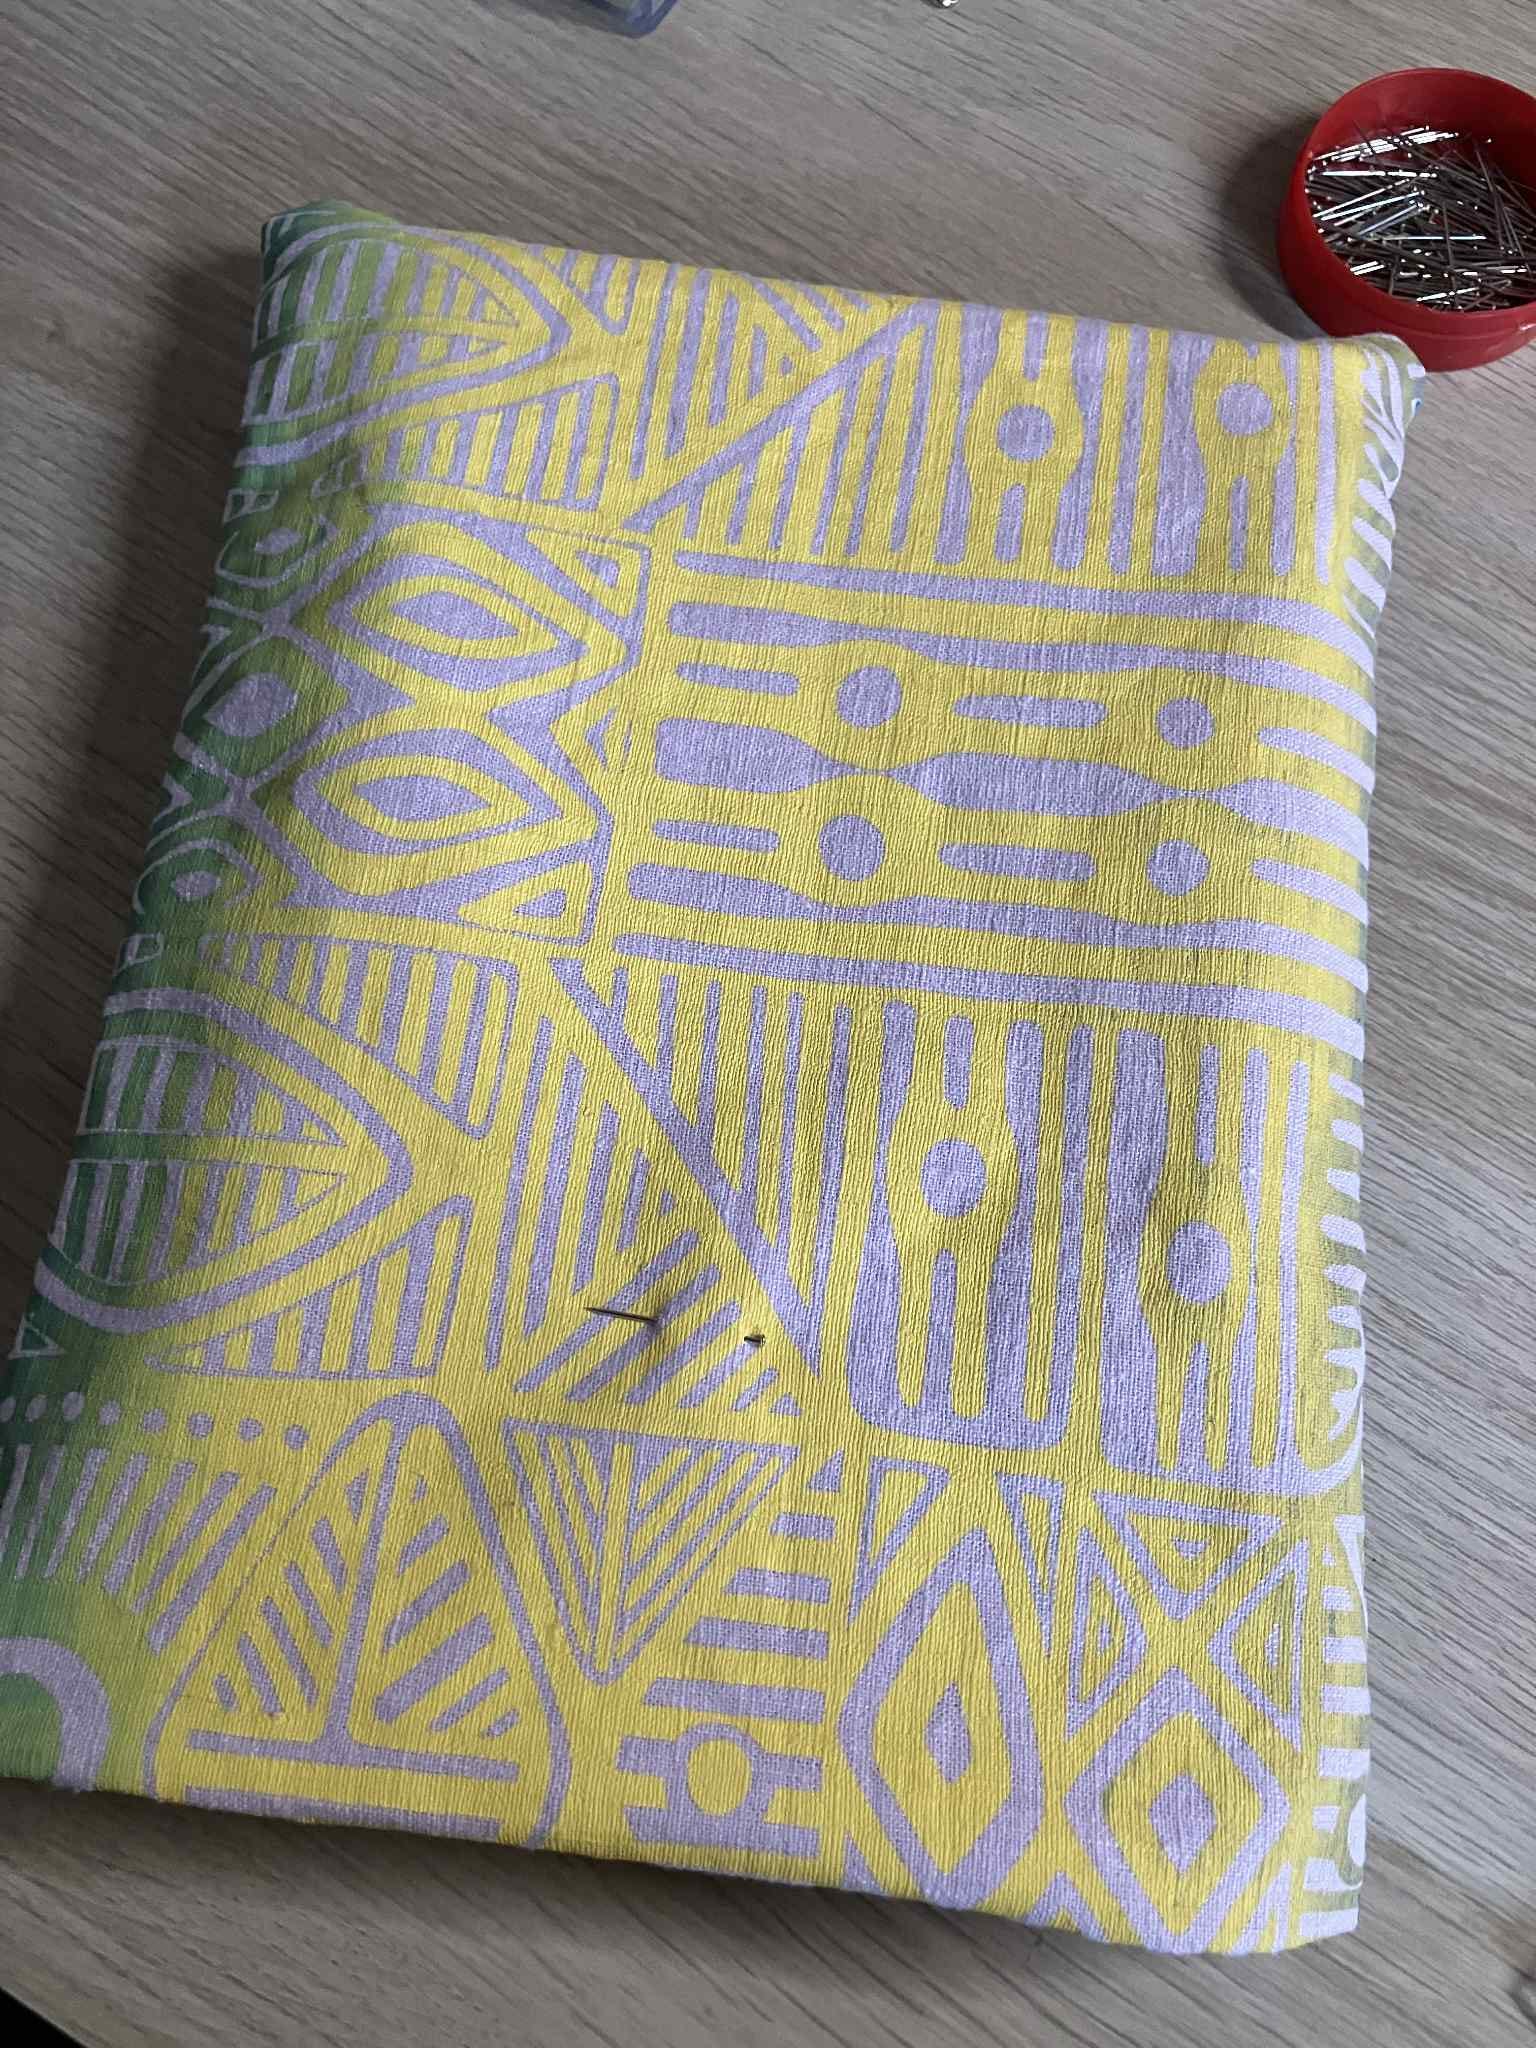
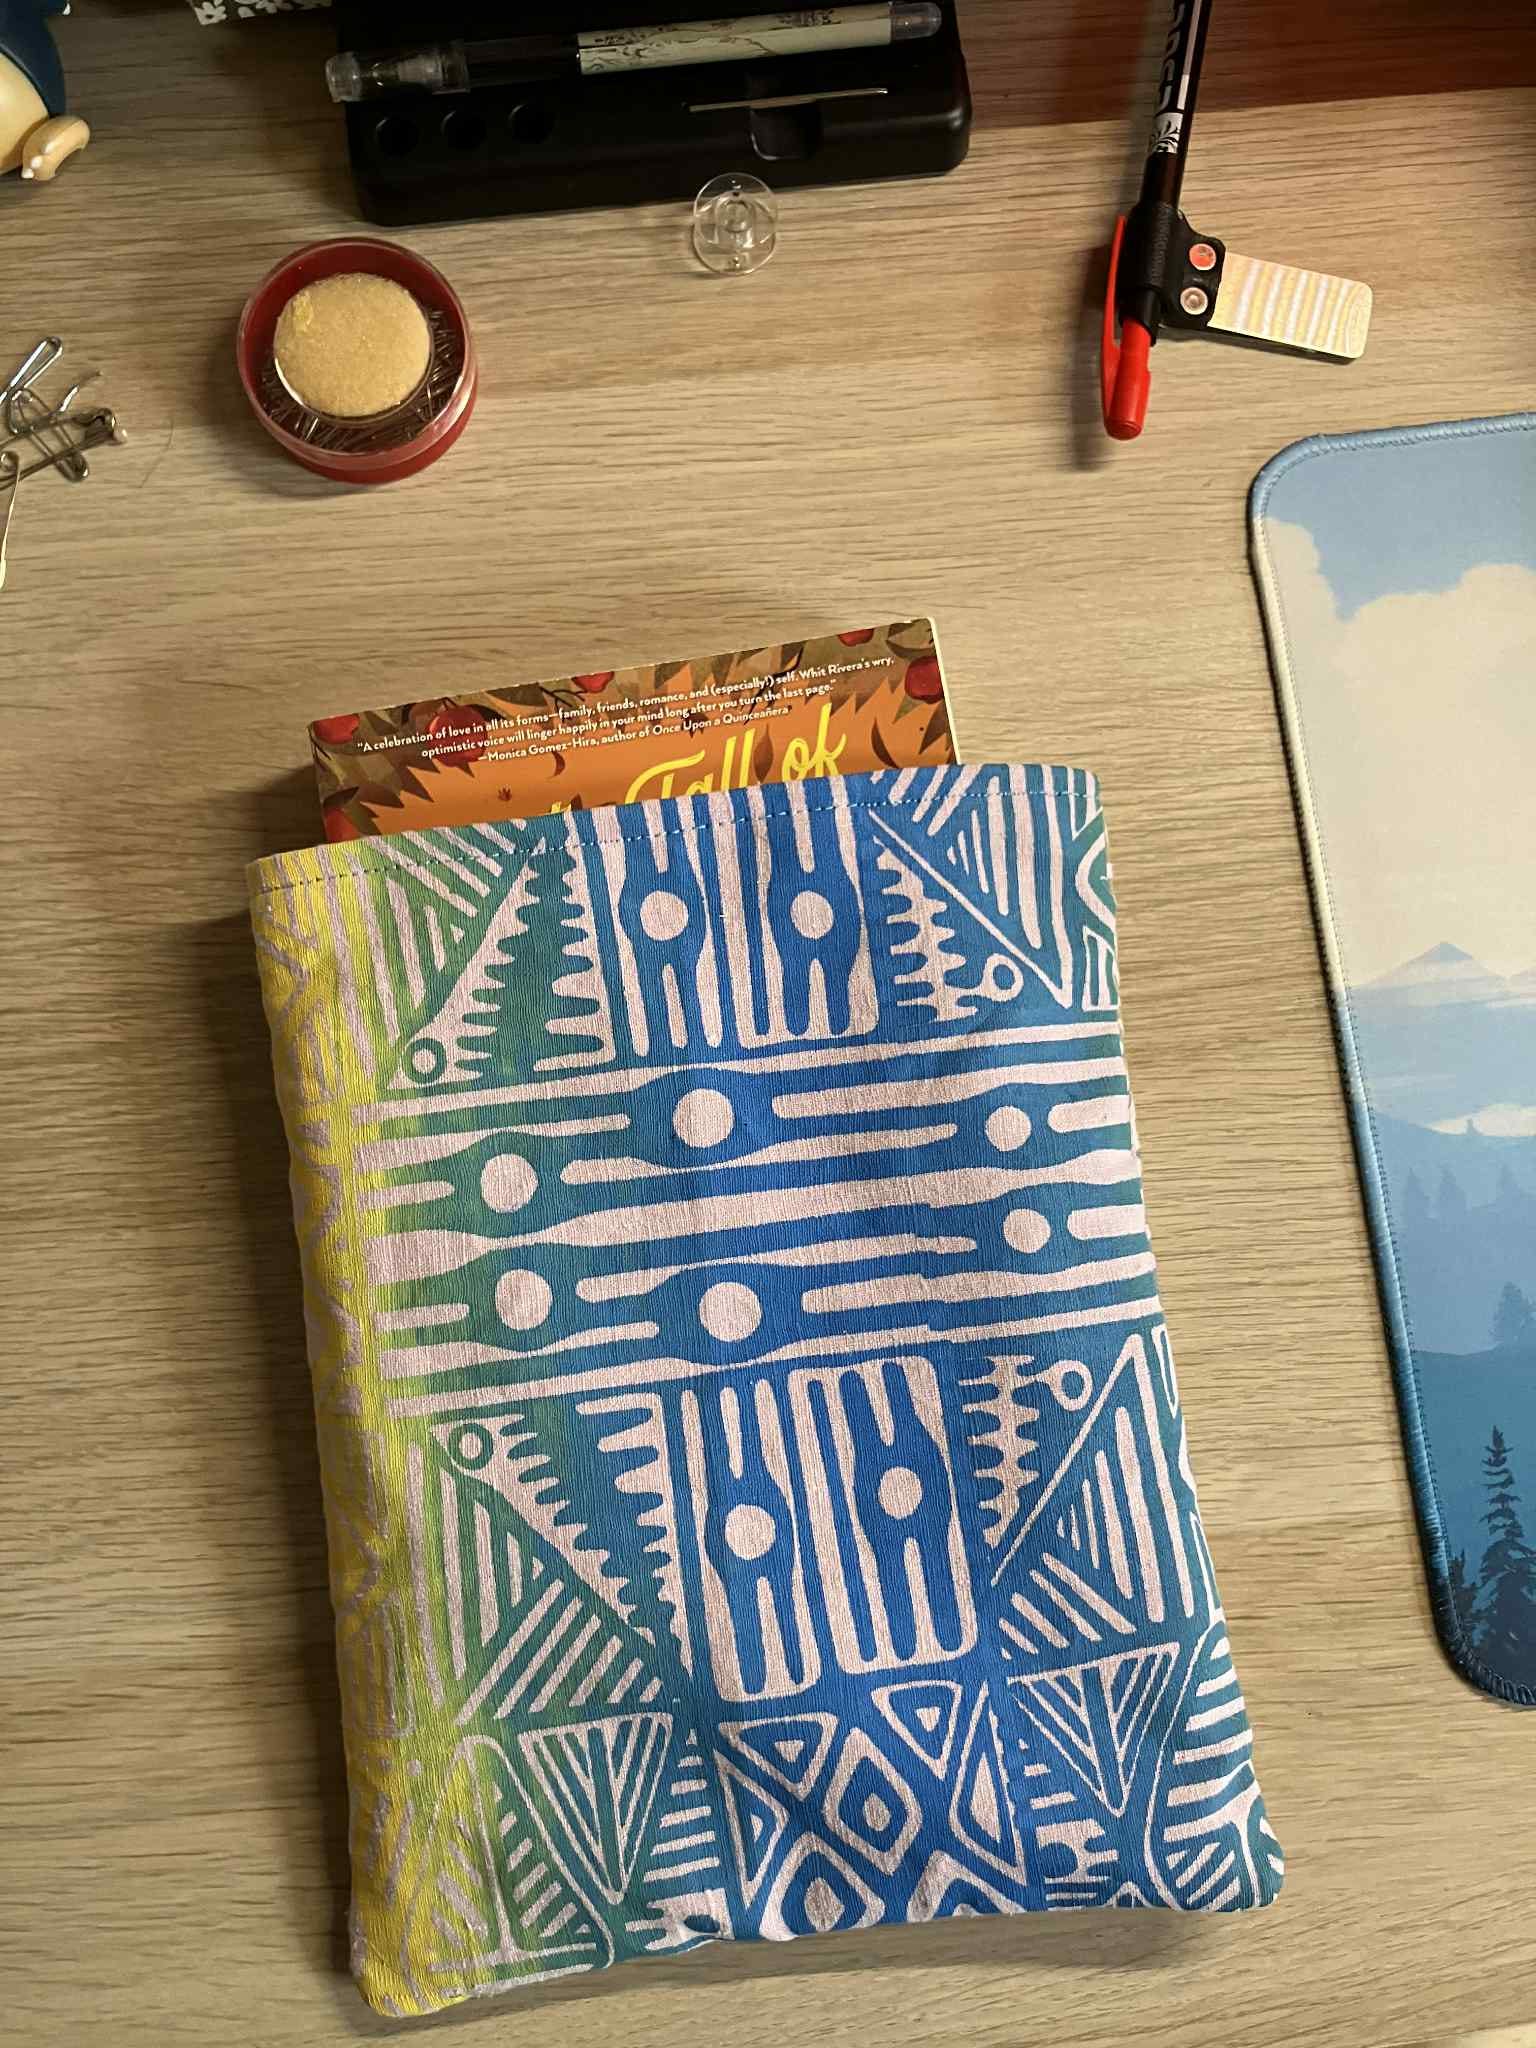
The image below is what it looks like on the outside.
And your book sleeve is done!


Of course, if you want this tutorial to be even easier, you could just put two outside fabrics together, sew all around except the top part, turn it around and call it a day. But all your stitches will be visible, you won’t have as much padding to protect your book, and it may unravel.
This is the quickest, simplest, and still cute way I have found to make a book sleeve.
Hope you enjoy it!
And sorry about those untrimmed threads.🧵
Be good, stay chaotic. |
Liefs,
Carina